If you're planning to install a garden shed, one of the most common questions is whether you need
planning permission for the base. In most cases, the answer is no — but there are
important rules you must follow.
This guide explains when a shed base is permitted development, when permission is required, and
how to stay compliant with UK planning regulations.
How Big Can I Build a Shed Without Planning Permission?
One of the most common questions homeowners ask is how big a shed can be without needing planning permission.
In most cases, UK planning rules allow generous shed sizes — as long as certain height, location, and usage rules are followed.
This guide explains exactly what you can build, where you can place it, and how to stay within the rules.
In most cases, sheds fall under permitted development, meaning planning permission is not required.
However, your shed must comply with specific limits relating to height, position, and land coverage.
The shed must be for domestic use (storage, hobbies, workshop).
It must not be in front of the main elevation of your house.
The total area of all outbuildings must not exceed 50% of the garden.
Maximum Shed Height Without Planning Permission
Height limits depend on how close the shed is to your property boundary.
Location
Maximum Height Allowed
Within 2 metres of a boundary
2.5 metres (any roof type)
More than 2 metres from boundary – flat roof
3 metres
More than 2 metres from boundary – pitched roof
4 metres
These rules apply to all outbuildings combined, not just one structure.
How Many Sheds Can You Have?
There’s no fixed numerical limit. Instead, councils assess:
Total footprint of all outbuildings
Overall visual impact on the property
Compliance with height and placement rules
Many homeowners legally install two or more sheds, especially when using
small sheds
or combining a storage shed with a workshop.
There’s no fixed “maximum number” of sheds you can have in a UK garden.
What matters is whether your sheds (and other outbuildings) stay within permitted development
rules — especially total garden coverage, height, placement, and use.
This guide explains the real limits in plain English, plus how to plan multiple sheds without running into
permission problems.
Quick takeaway: You can often have more than one shed, as long as your combined outbuildings
meet the permitted development limits (especially the 50% rule) and your shed heights/locations comply.
Is There a Limit on the Number of Sheds?
UK guidance focuses on what you build and how much land it covers, rather than a strict “one shed only” rule.
That means two small sheds can be easier to keep within the rules than one oversized outbuilding.
What your council will look at
Total coverage: how much of the garden is covered by outbuildings and extensions
Height: especially if the shed is near a boundary
Position: usually must be behind the house, not in front of the main elevation
Use: storage/workshop/hobby is usually fine; separate living accommodation is not
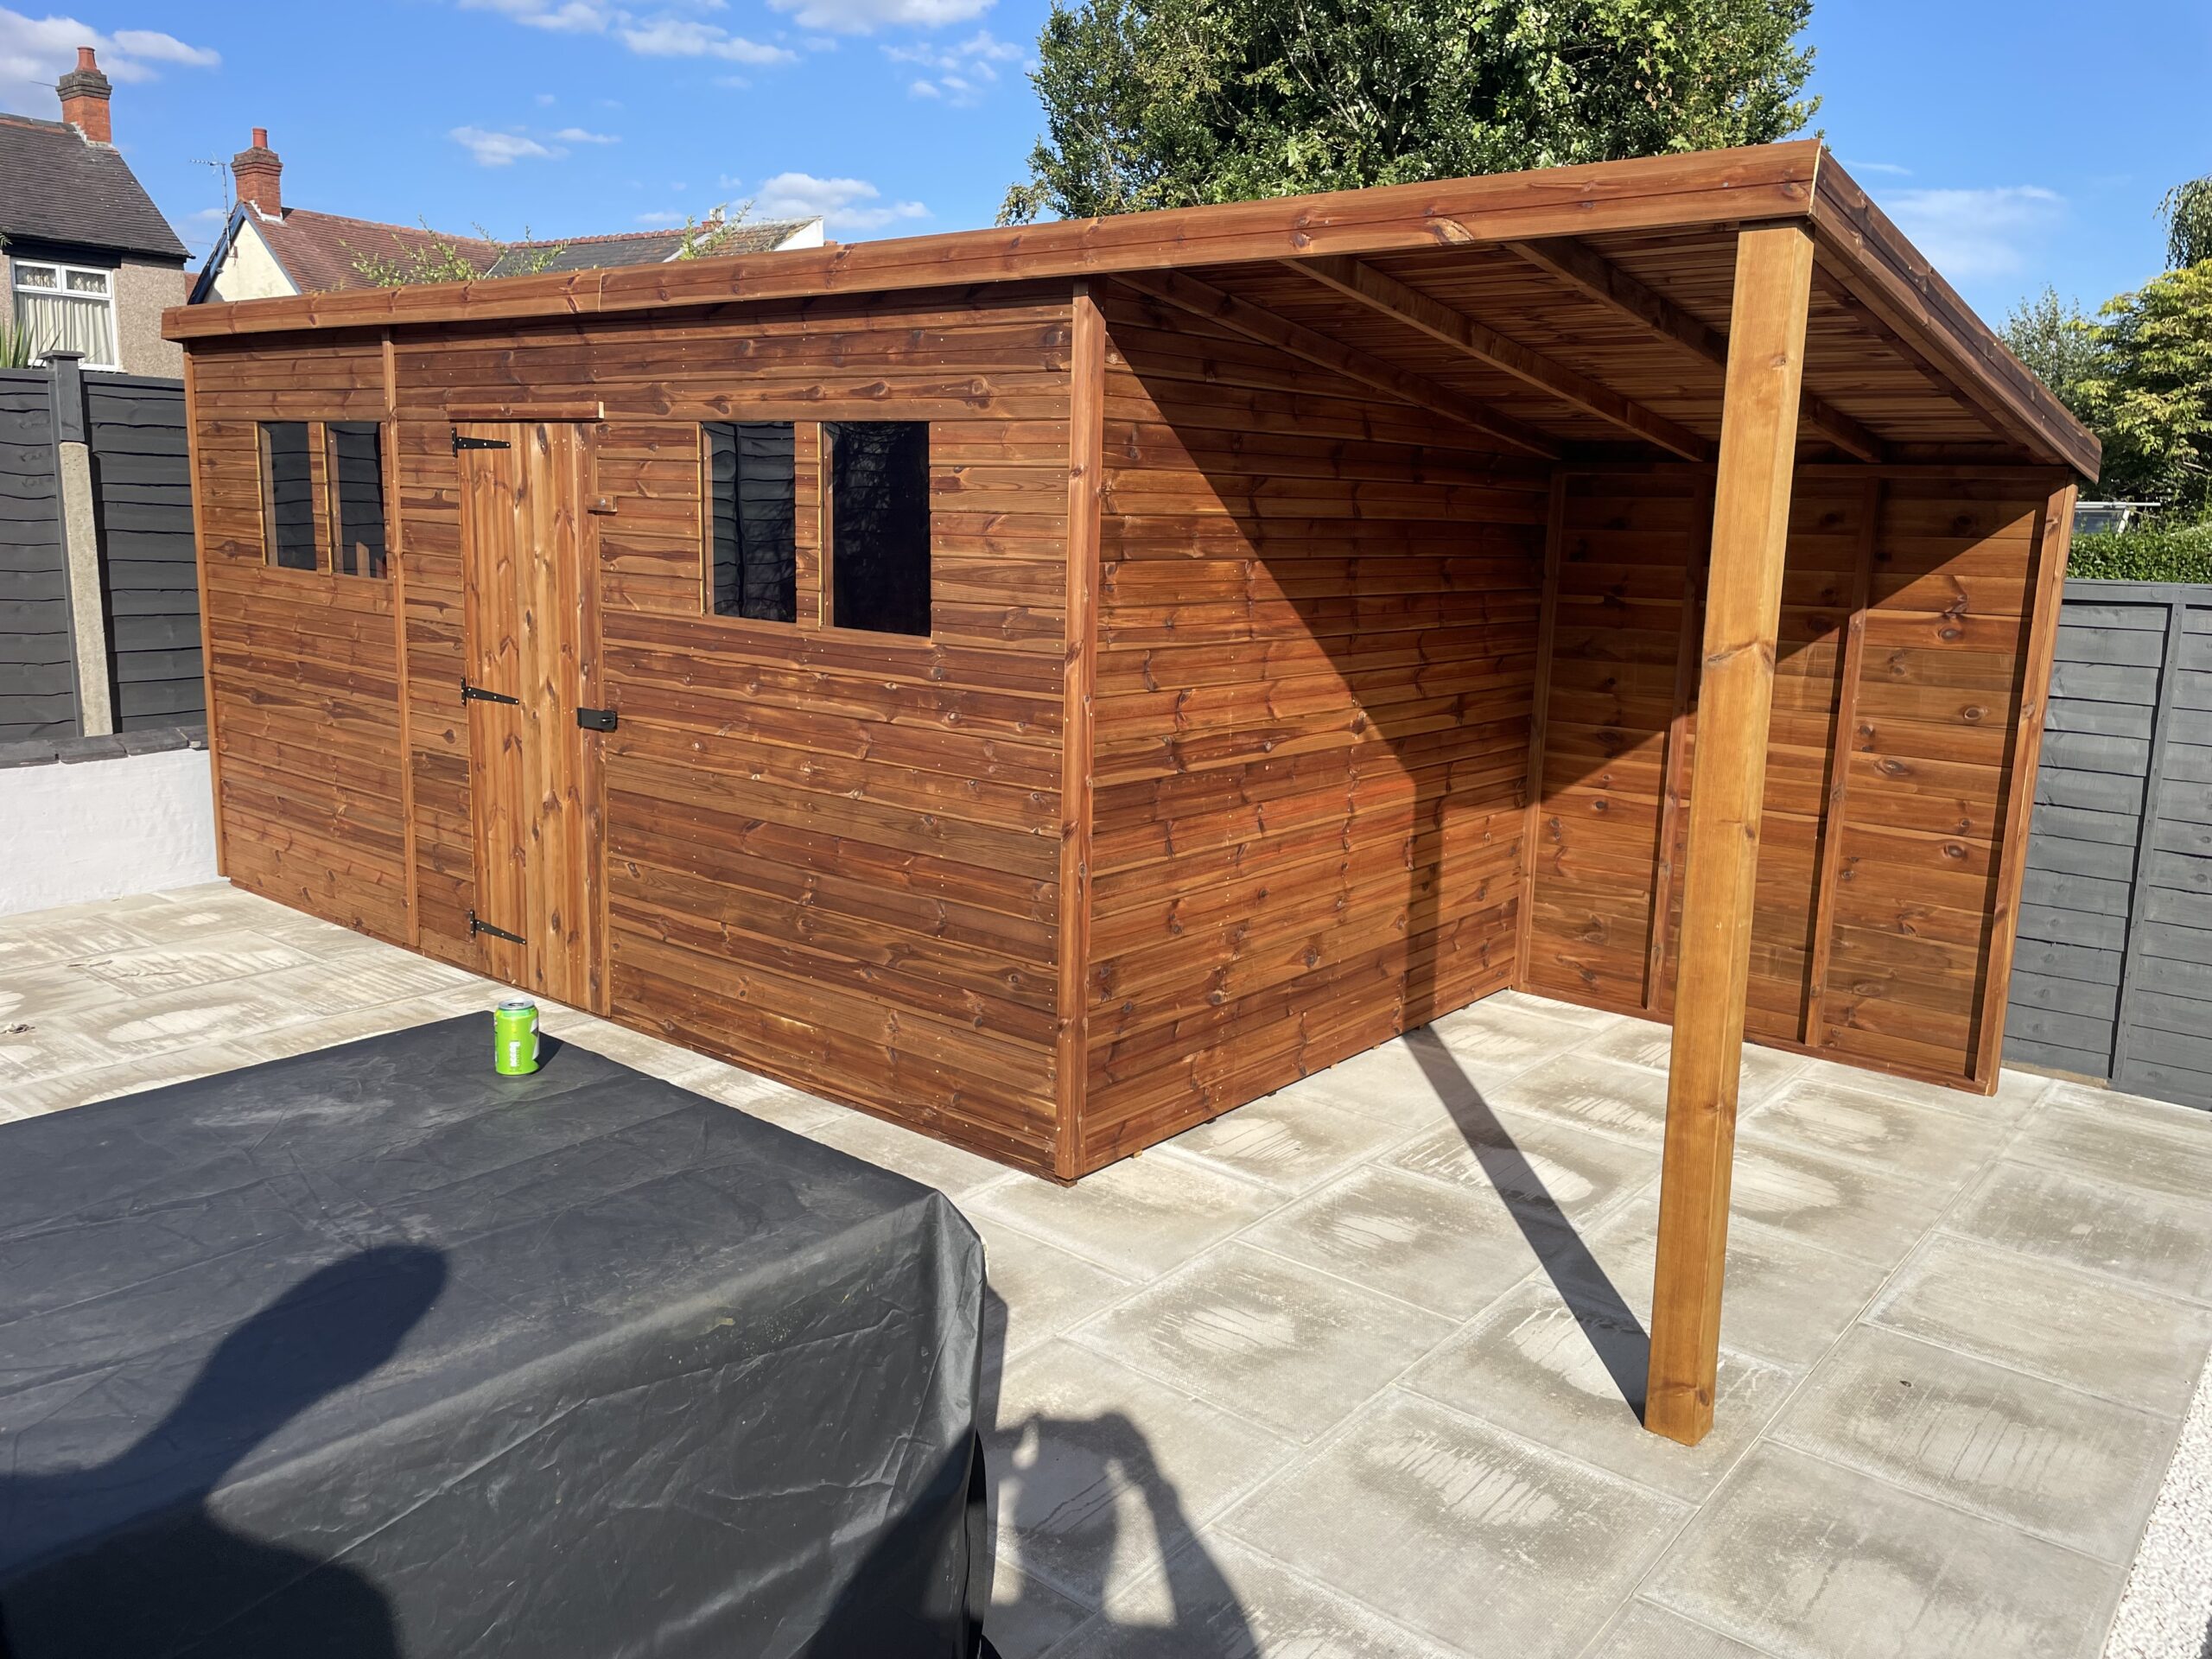
If you want multiple buildings for different uses, consider:
Workshop Sheds for tools and projects, plus a
Security Shed for bikes and valuables.
The Real “Maximum”: The 50% Garden Coverage Rule
One of the biggest hidden limits is the 50% rule. Under permitted development, the total area of land
covered by buildings (including outbuildings and extensions) usually must not exceed 50% of the curtilage
(excluding the original house).
Rule
Why it matters for multiple sheds
50% coverage limit
Two or three sheds may be fine — but the combined footprint (plus any extensions/other buildings) can’t exceed the allowed garden coverage.
Single storey + incidental use
Multiple sheds are more likely to be OK when used for storage/workshop/hobby, not as separate living accommodation.
Not in front of the house
Sheds placed forward of the principal elevation commonly trigger permission issues.
Tip: If your garden is tight, a single well-designed shed can often replace two smaller ones.
You can customise sizing with our Shed Builder.
Height & Boundary Rules That Affect “How Many”
Height rules don’t cap the number of sheds, but they can limit where you can place additional sheds.
The most important one is: if an outbuilding is within 2m of a boundary, the maximum overall height is usually
2.5m.
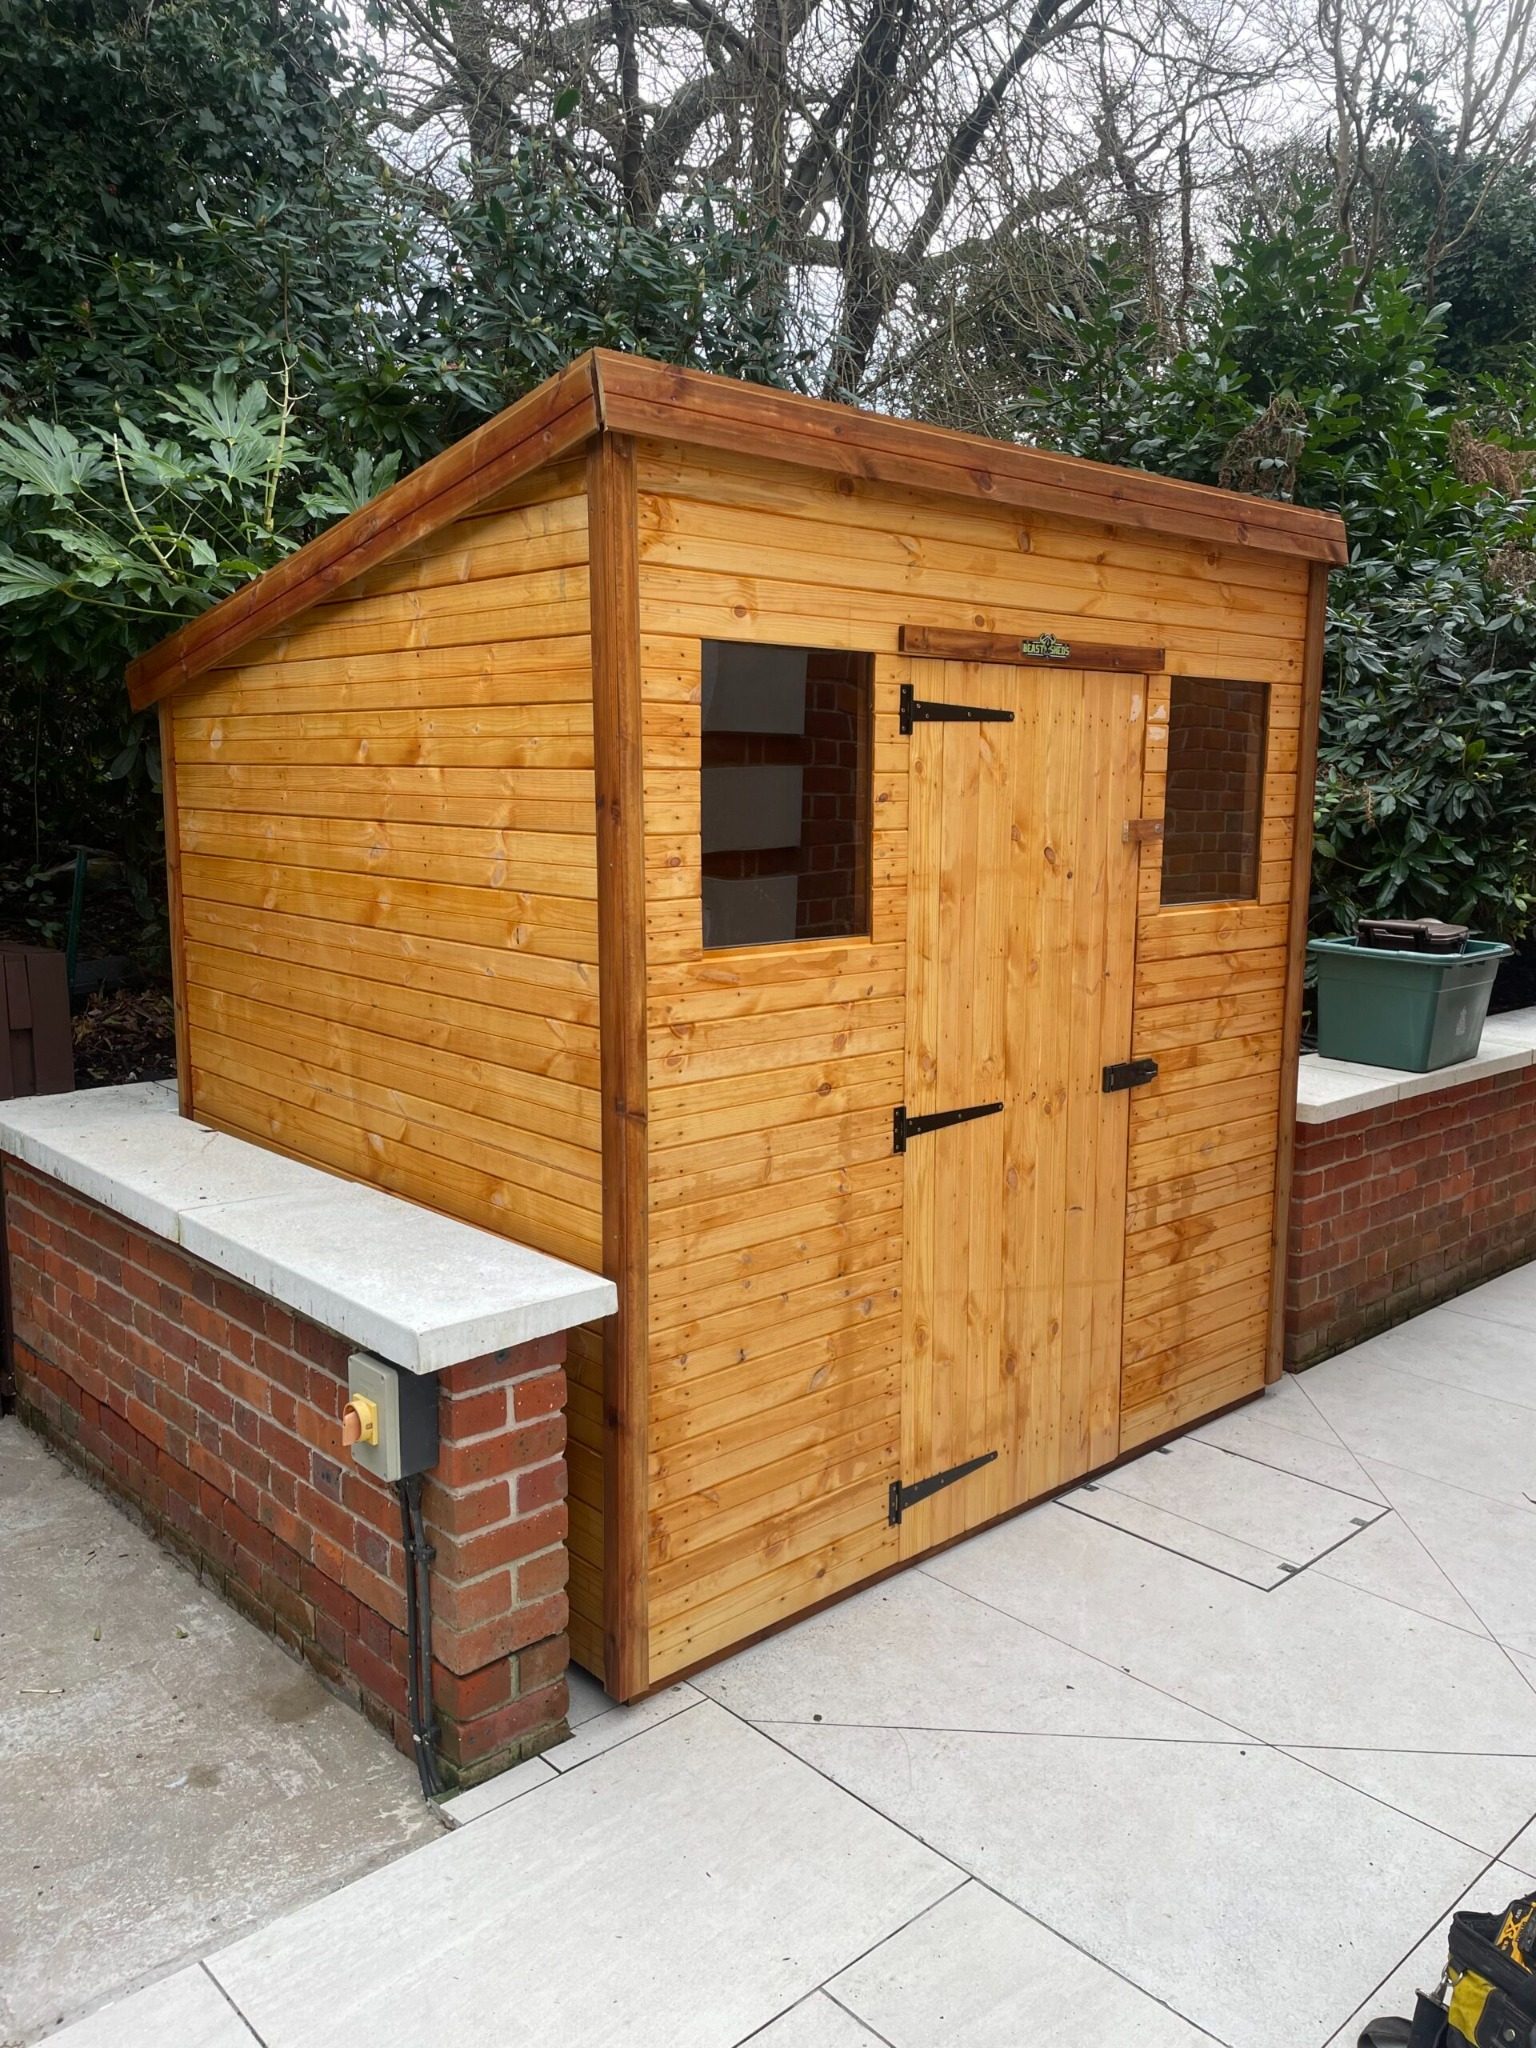
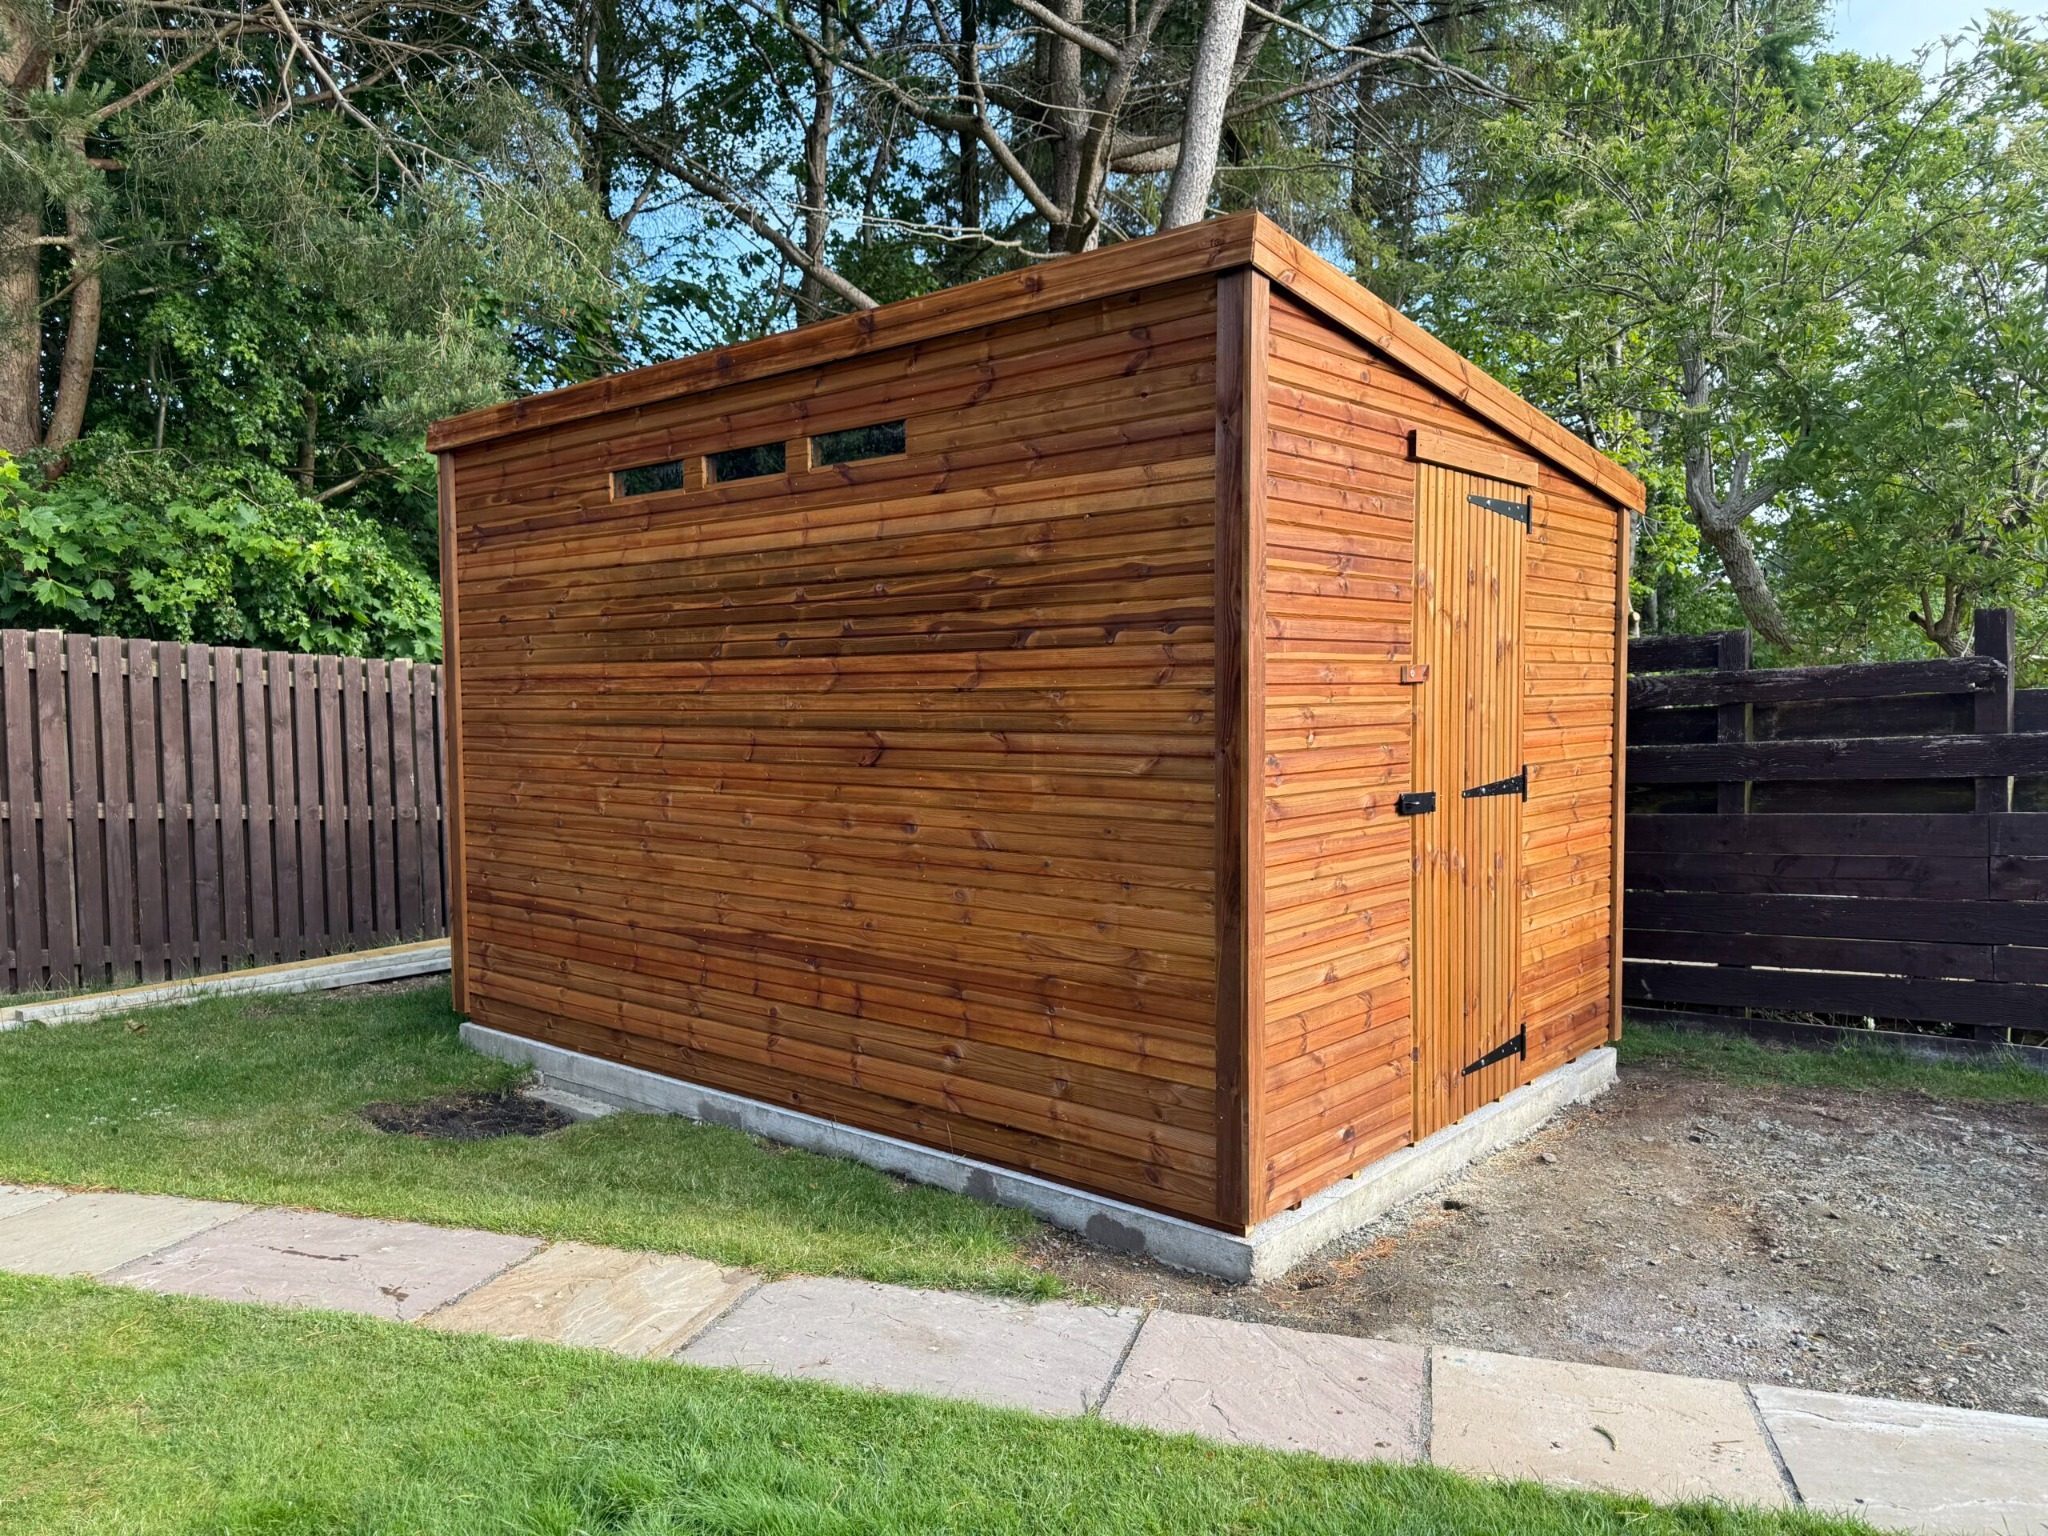
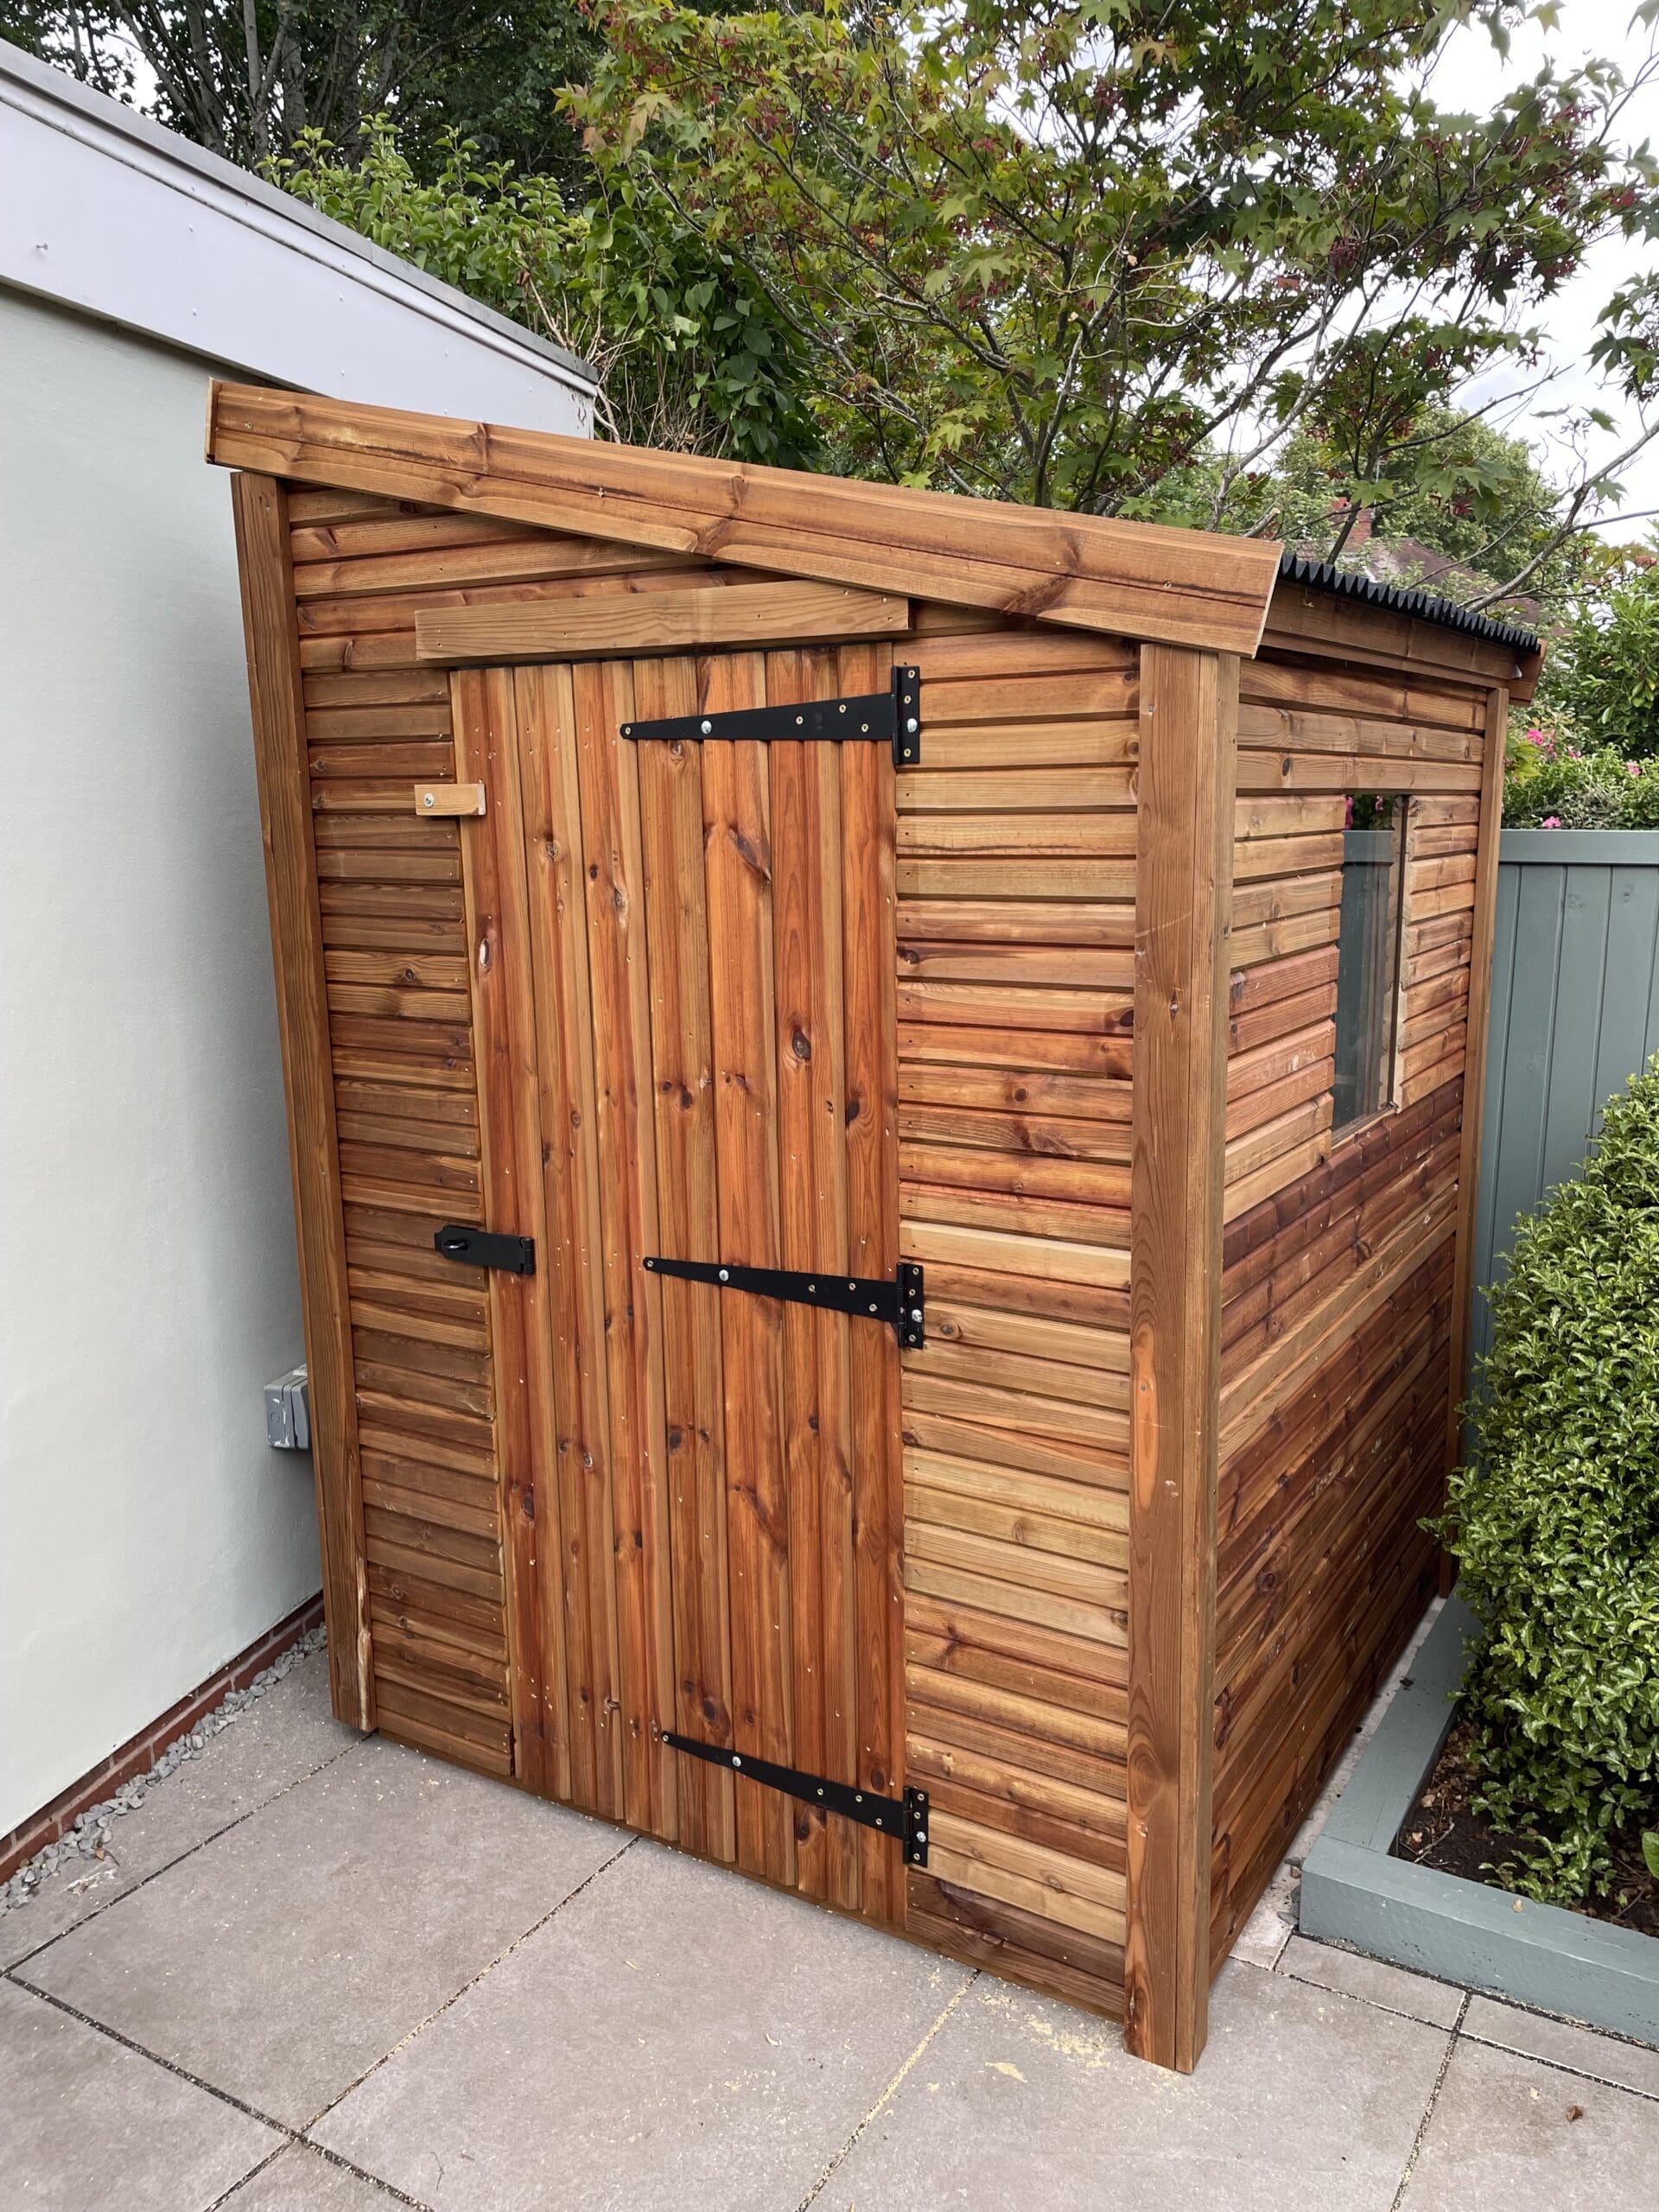
Near boundaries: Lower-profile sheds (often pent sheds)
can be easier to position while staying within the 2.5m limit.
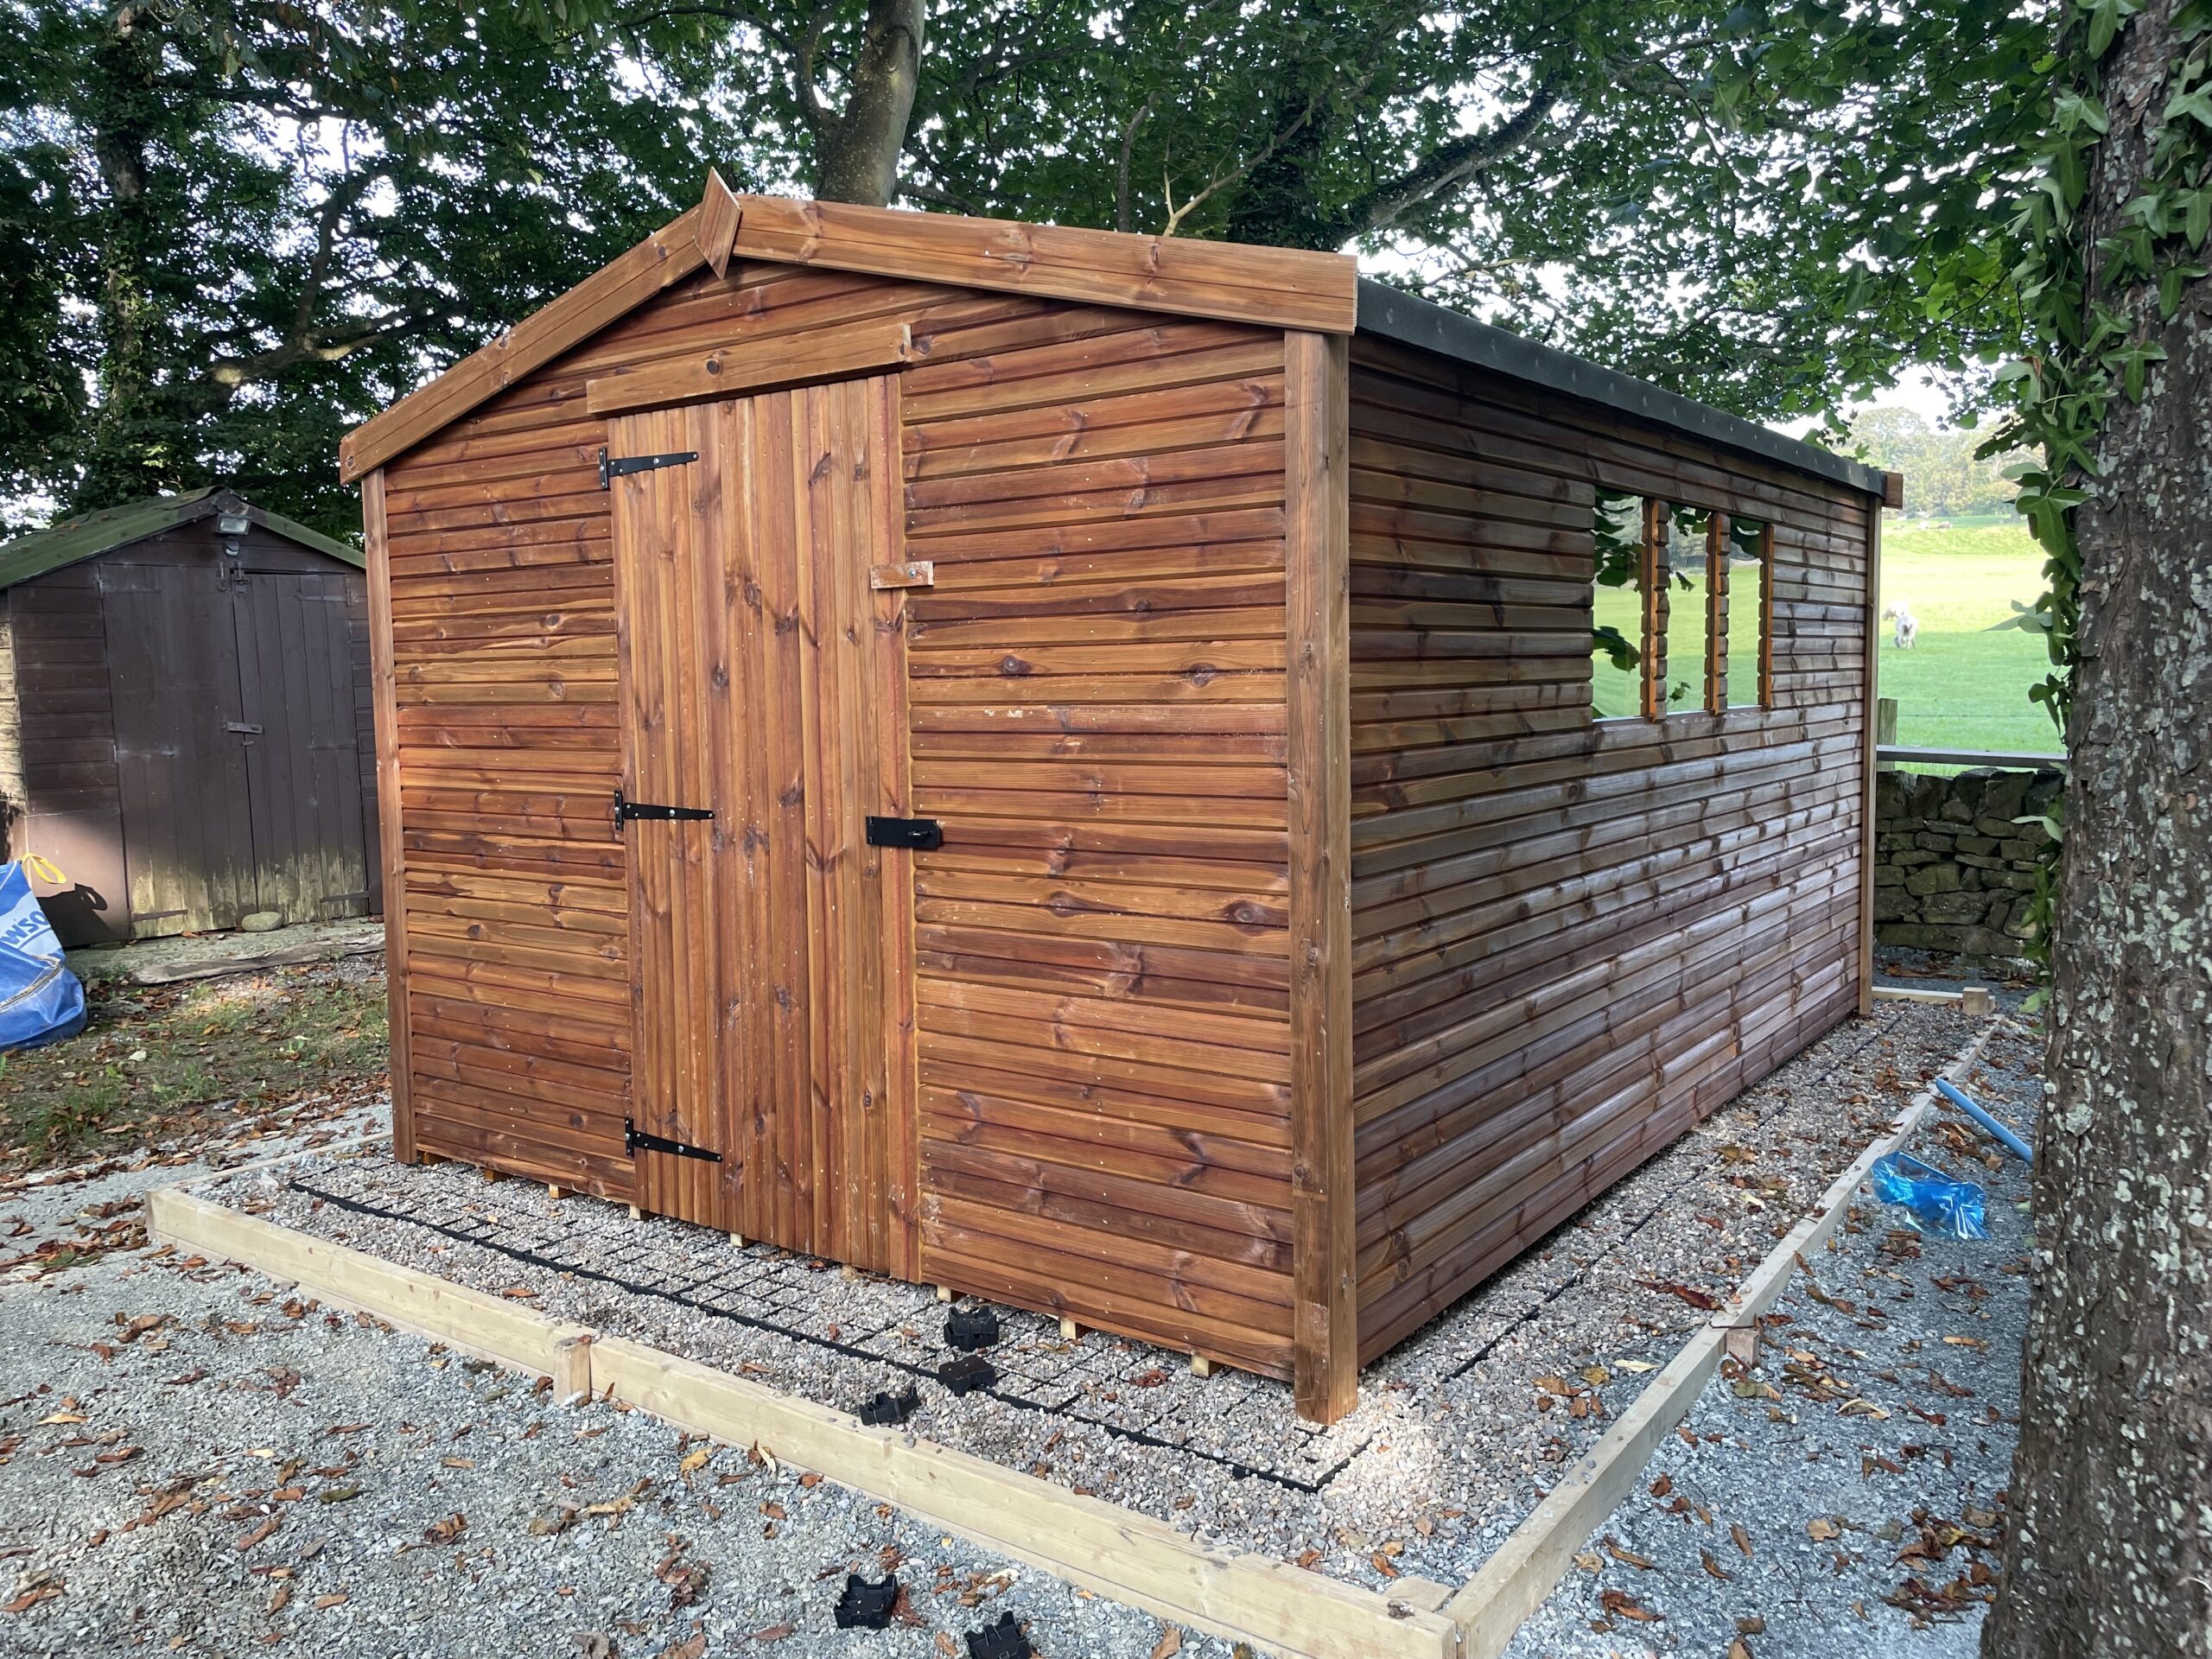
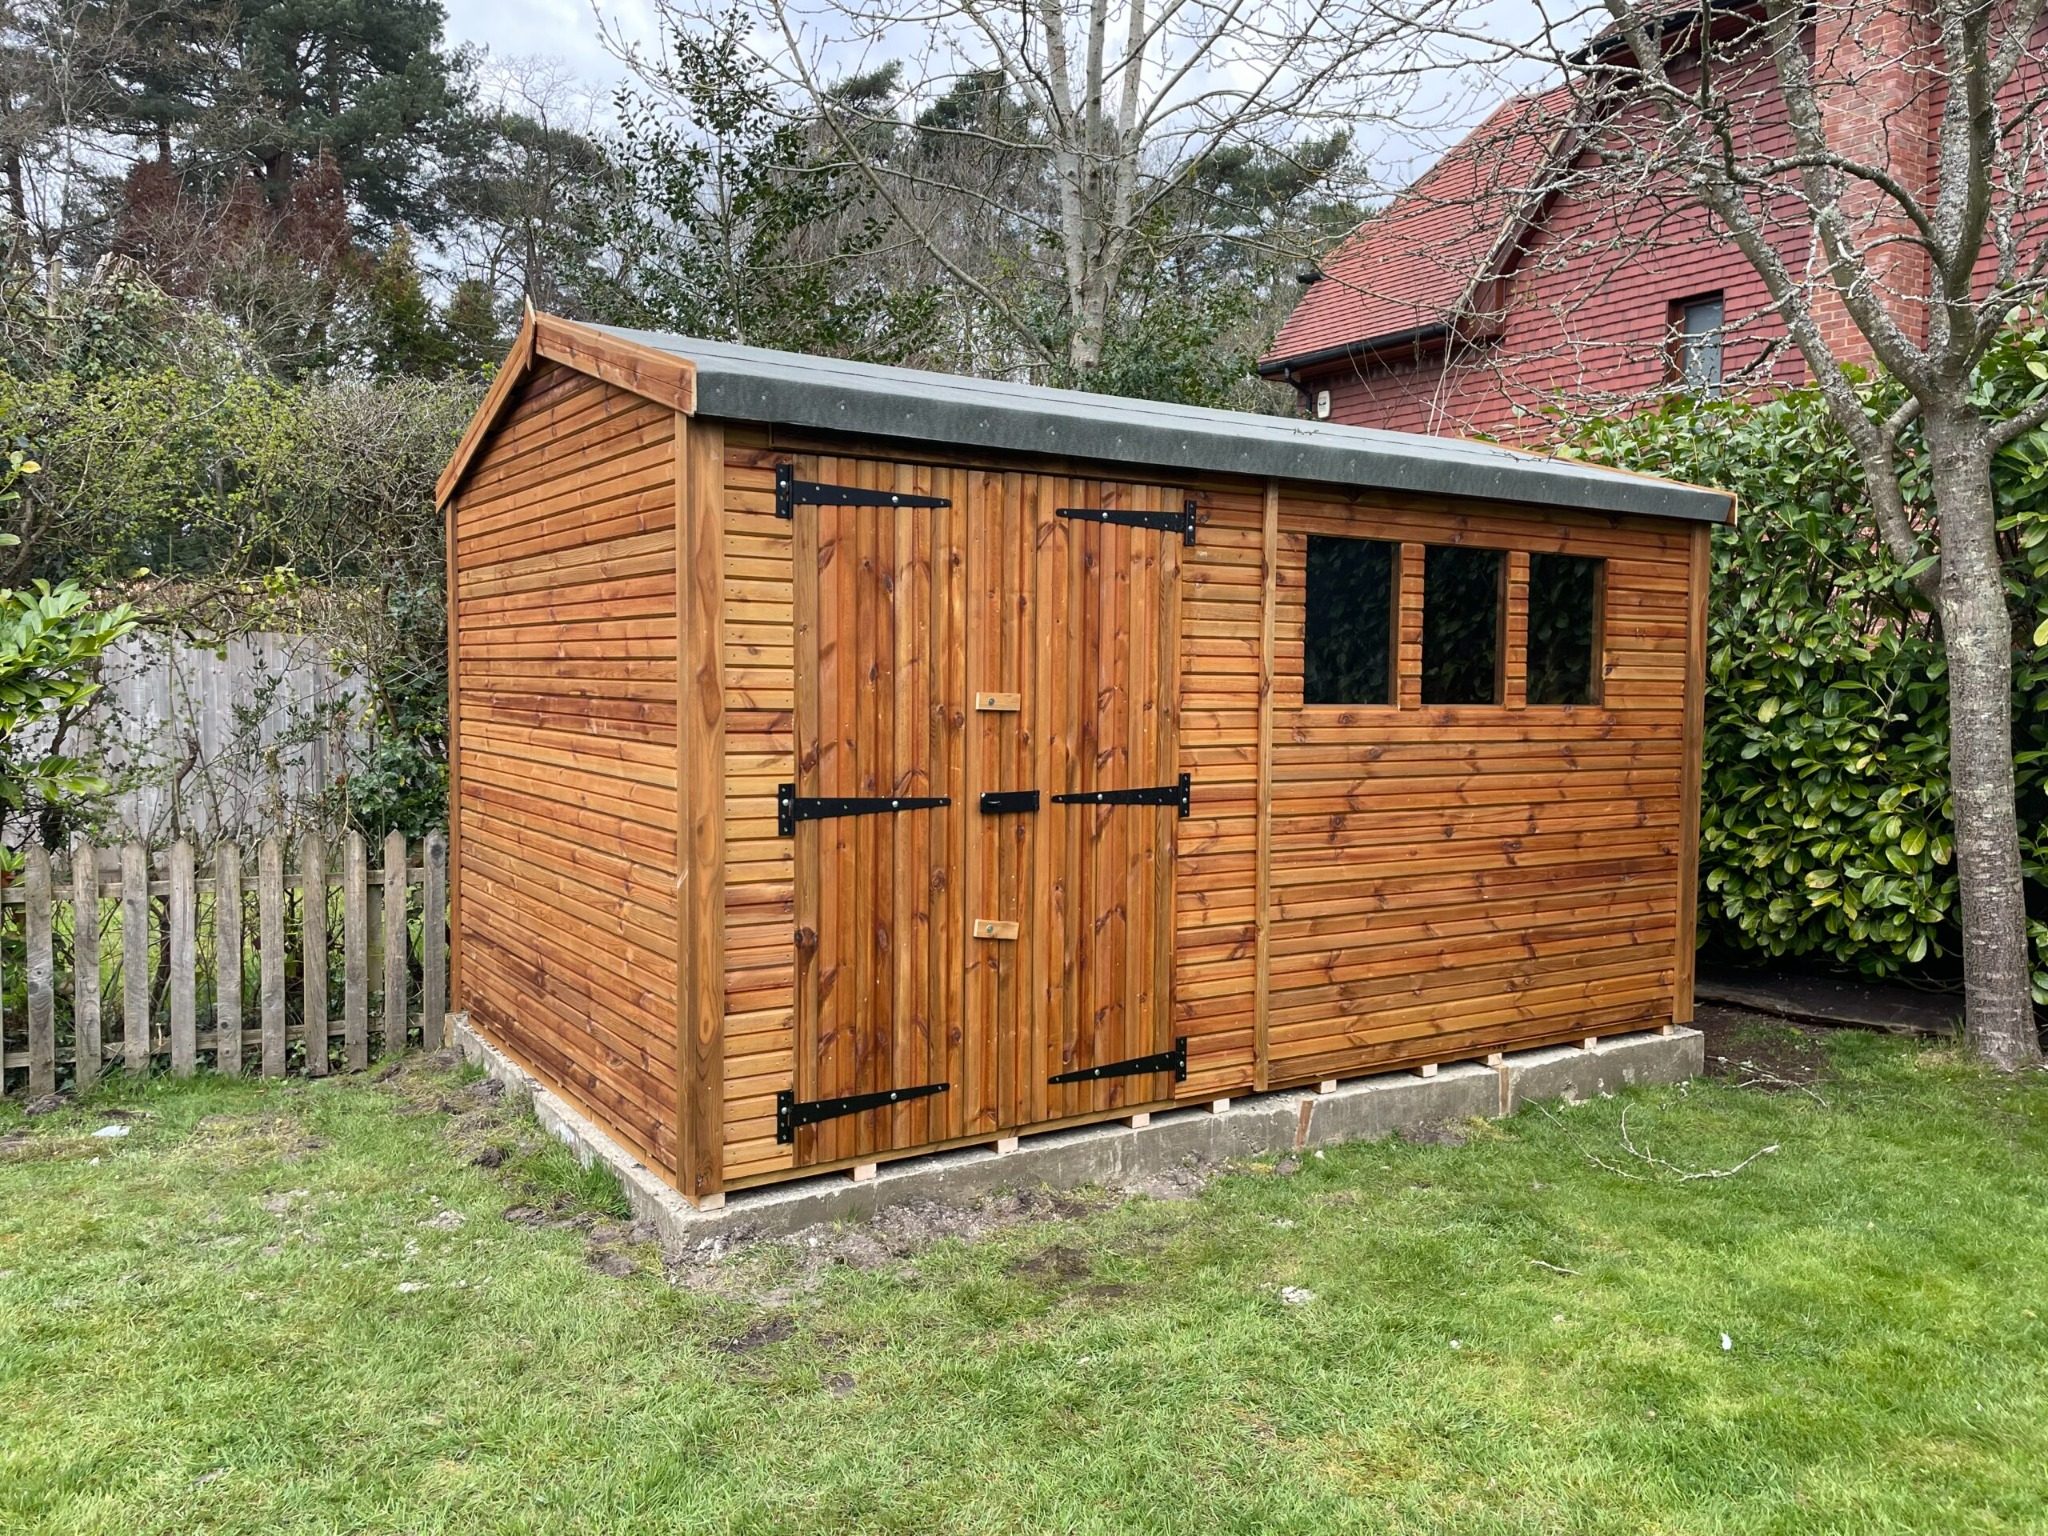
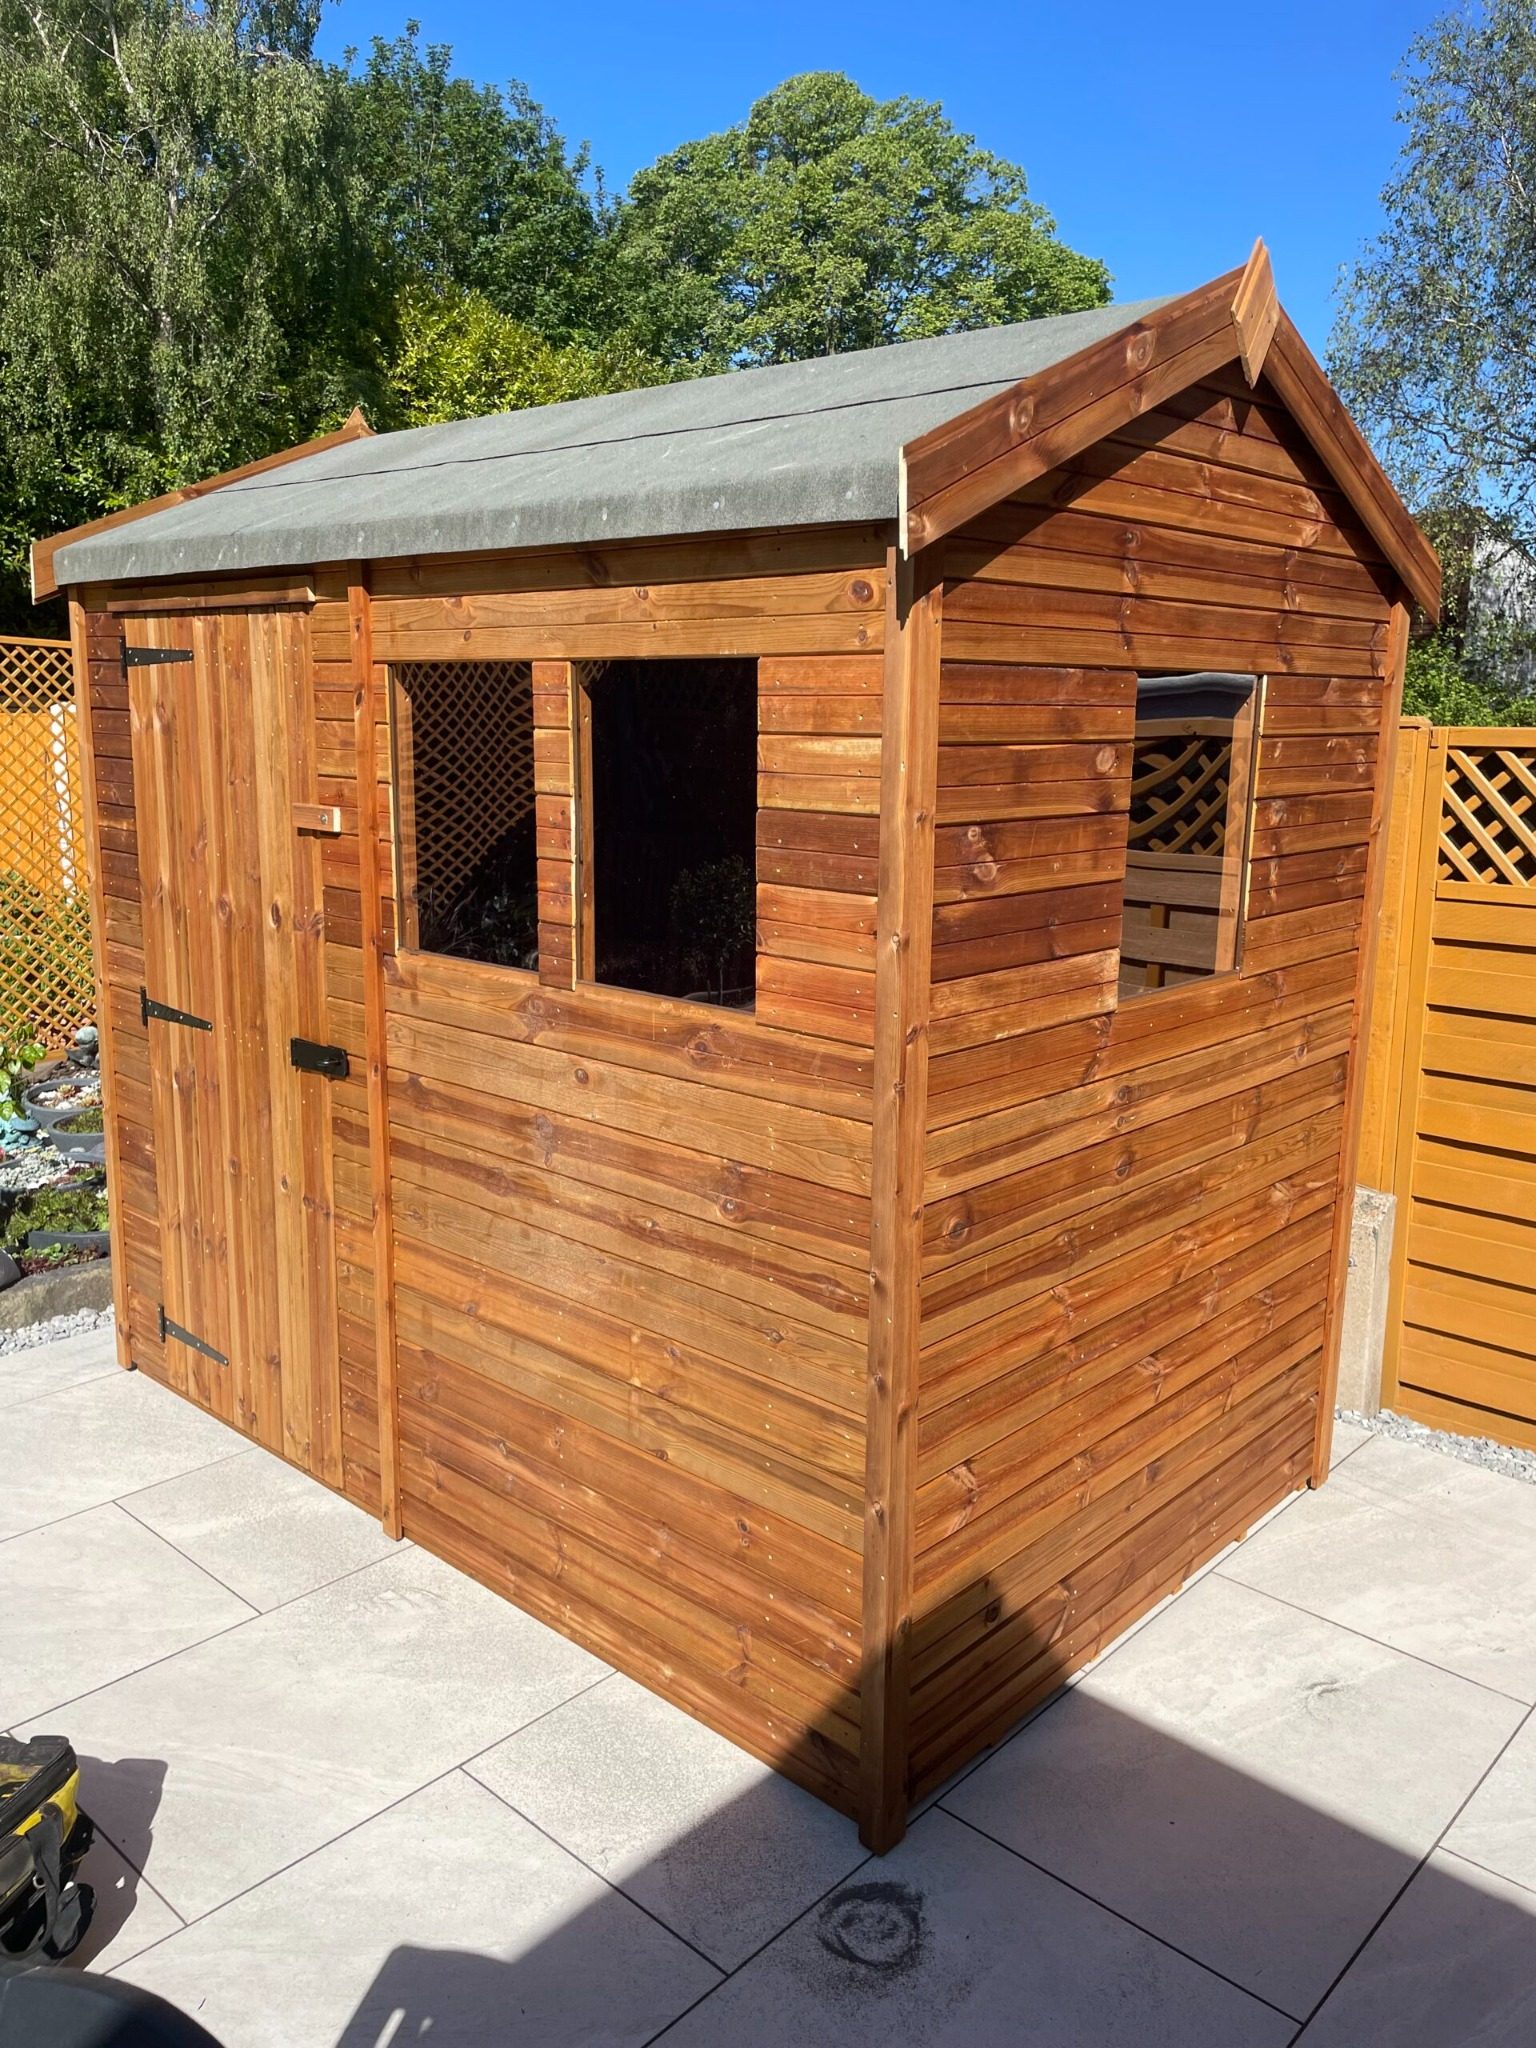
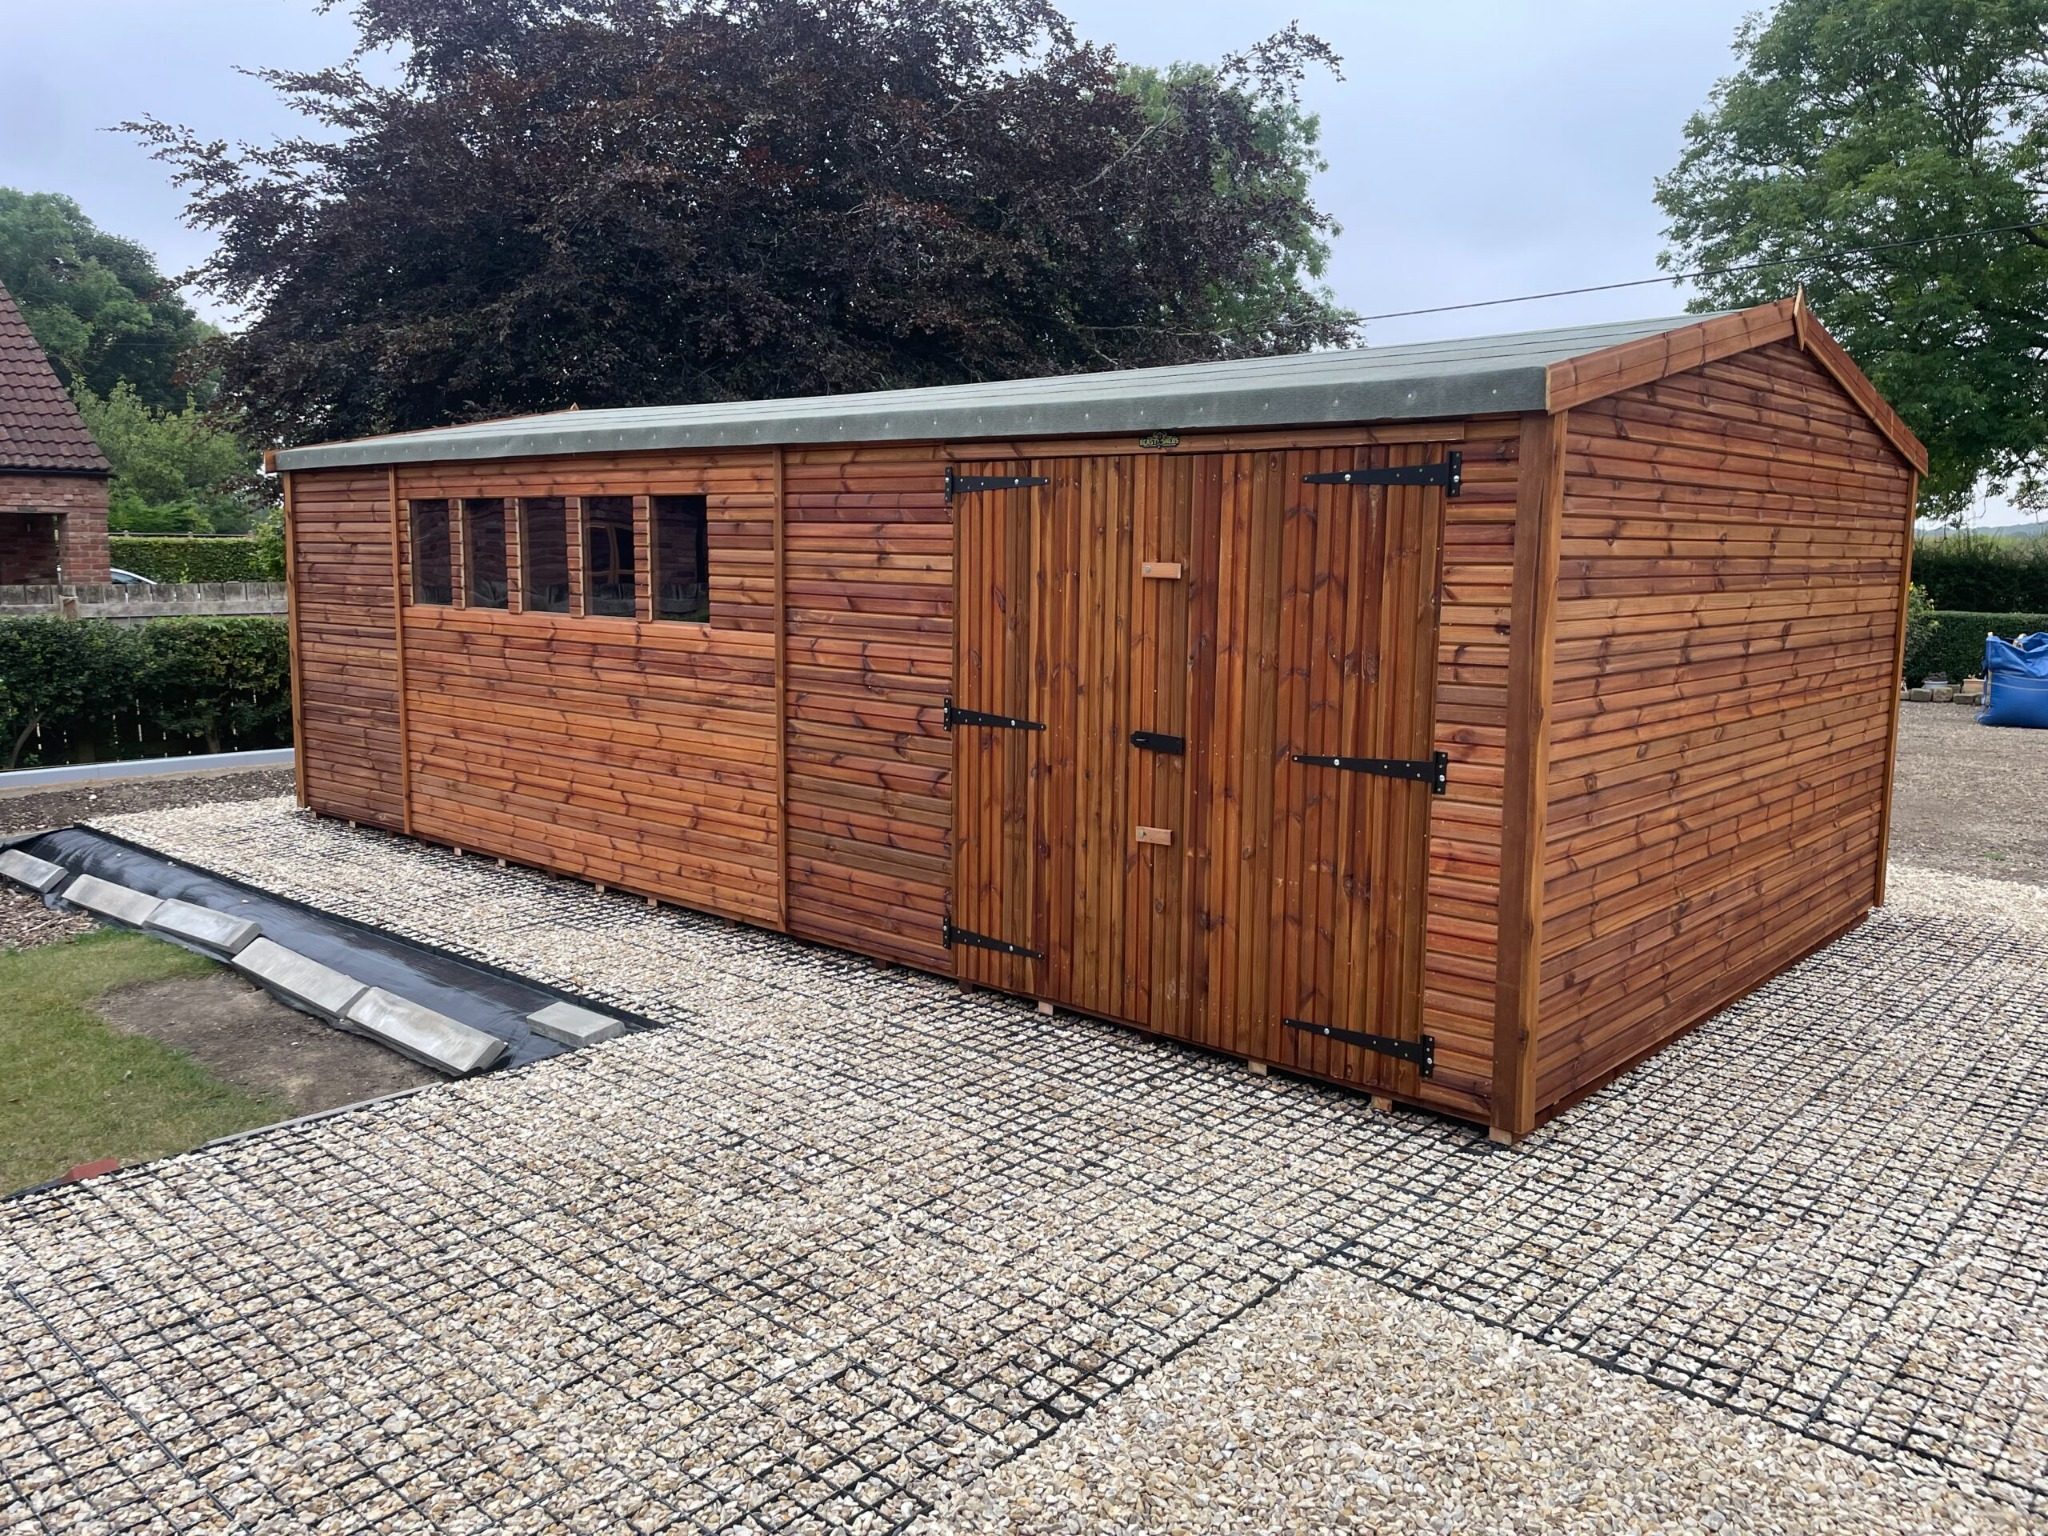
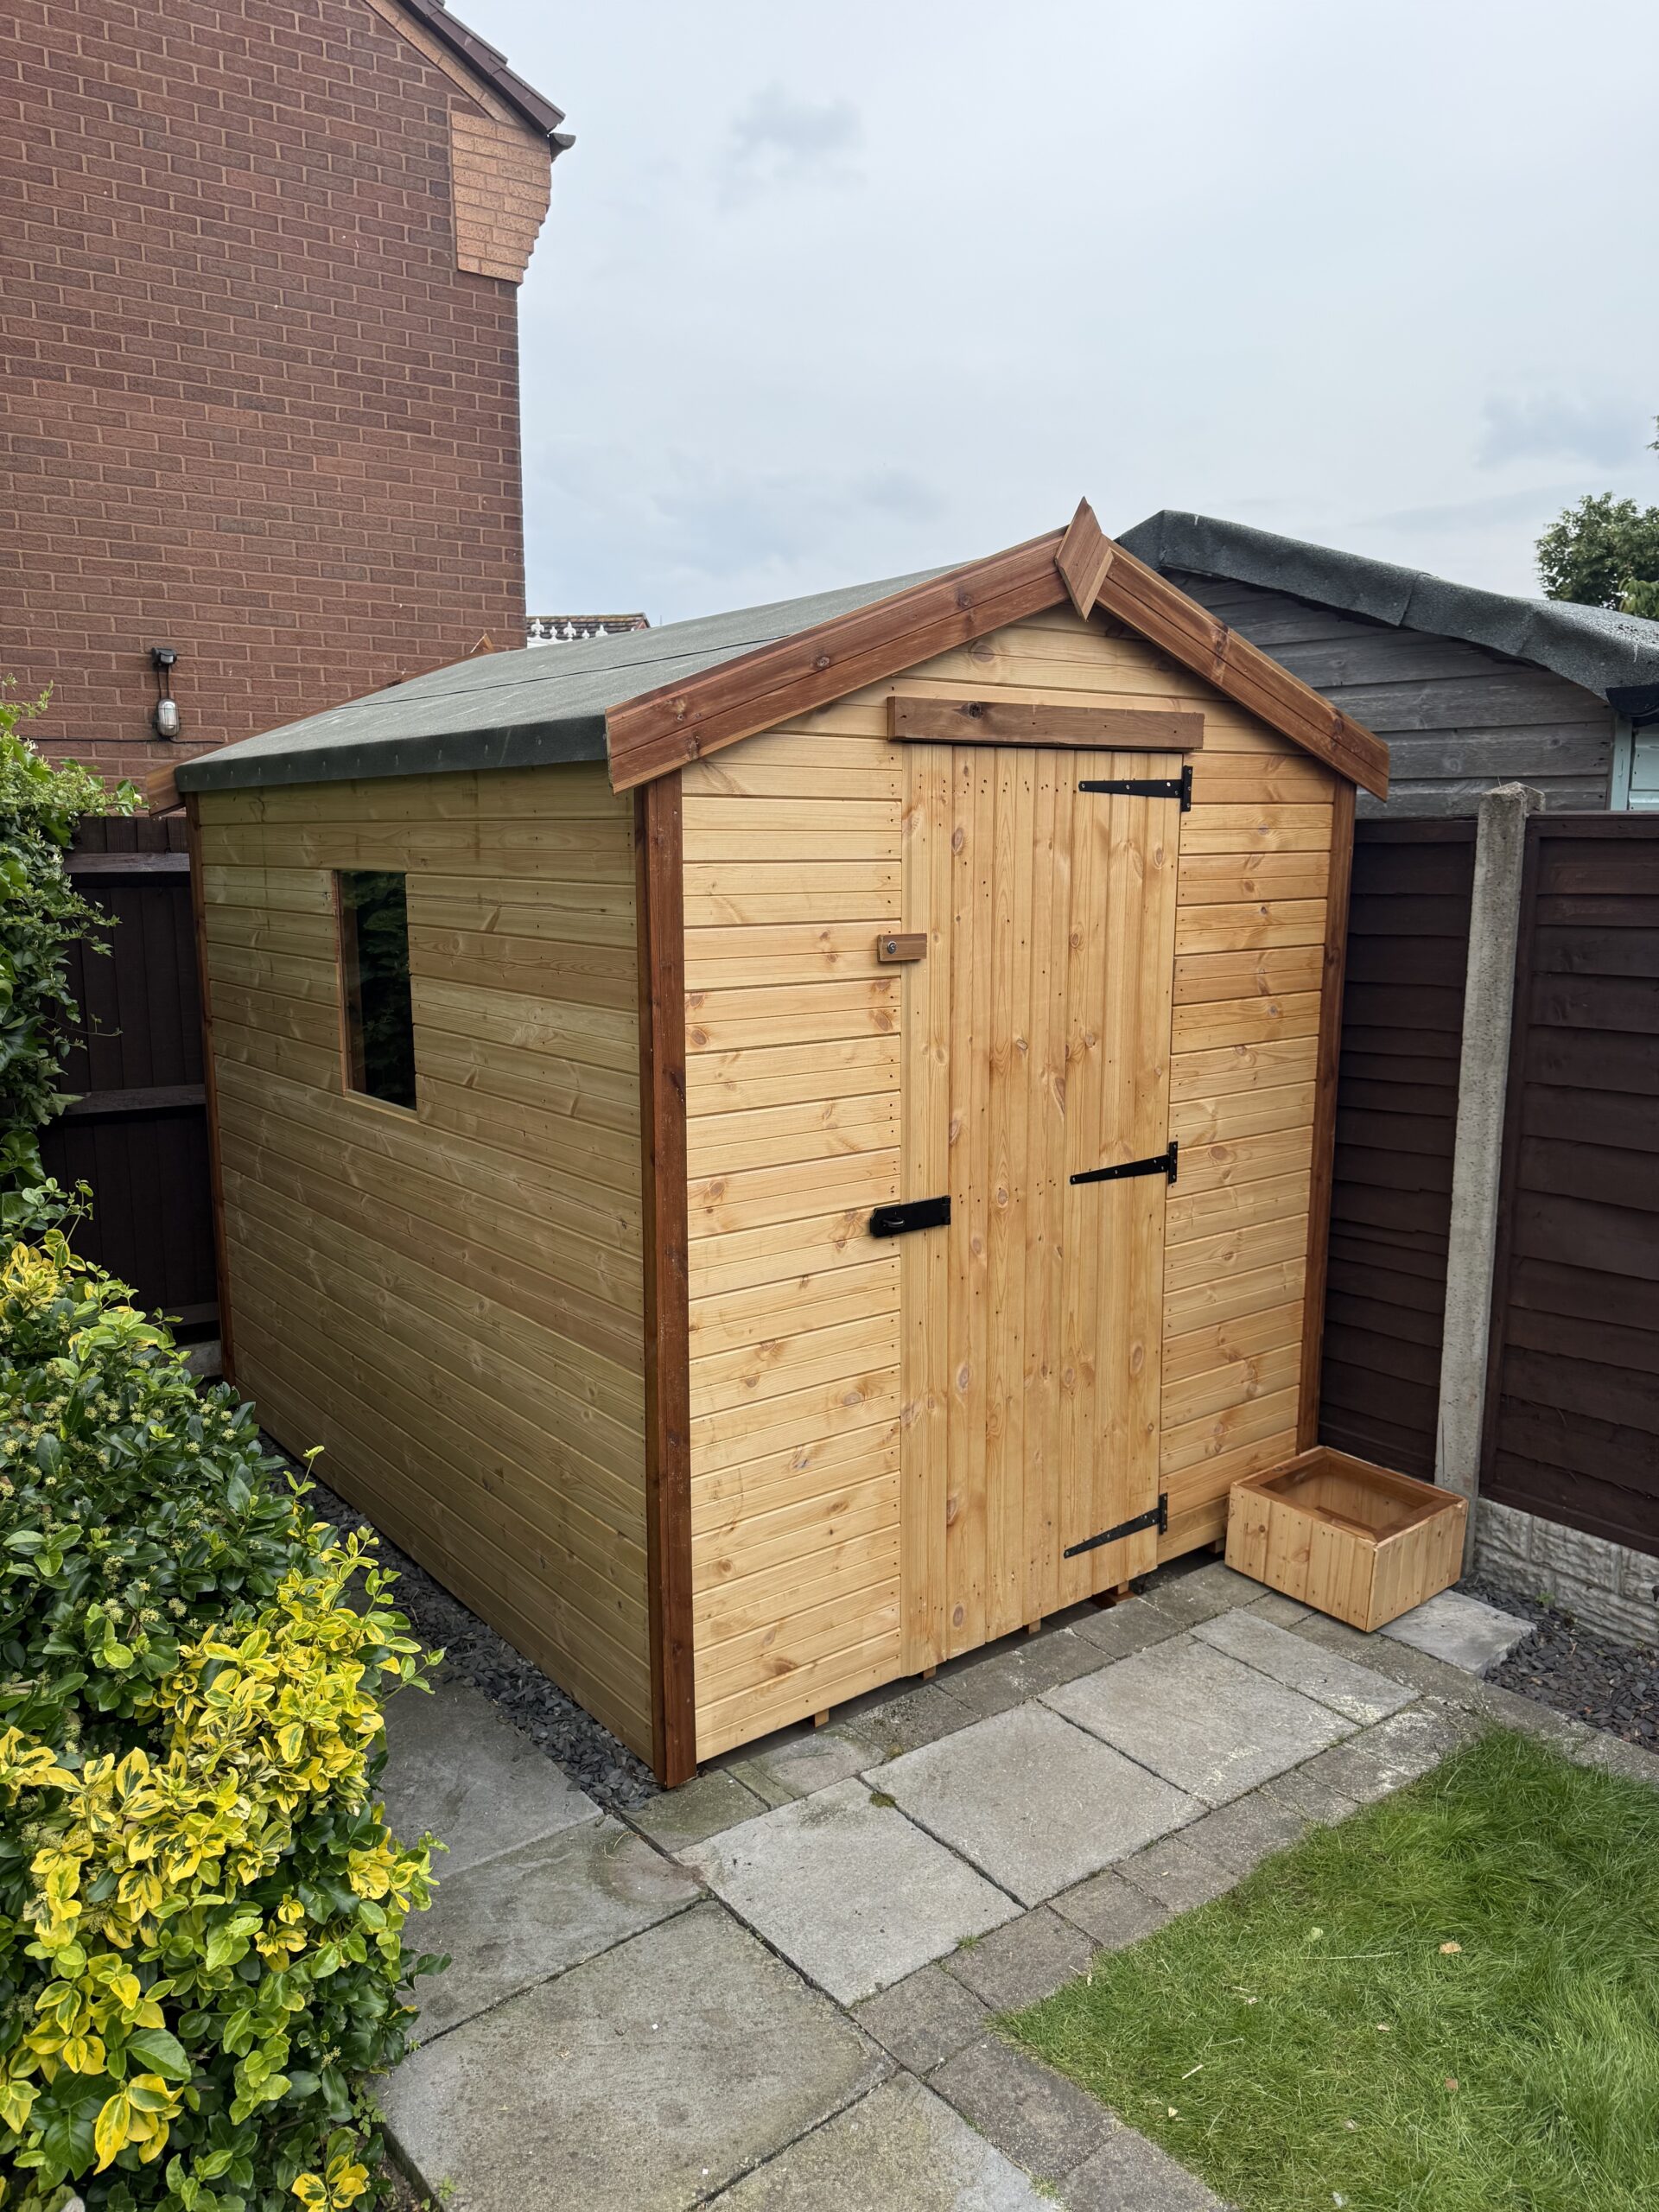
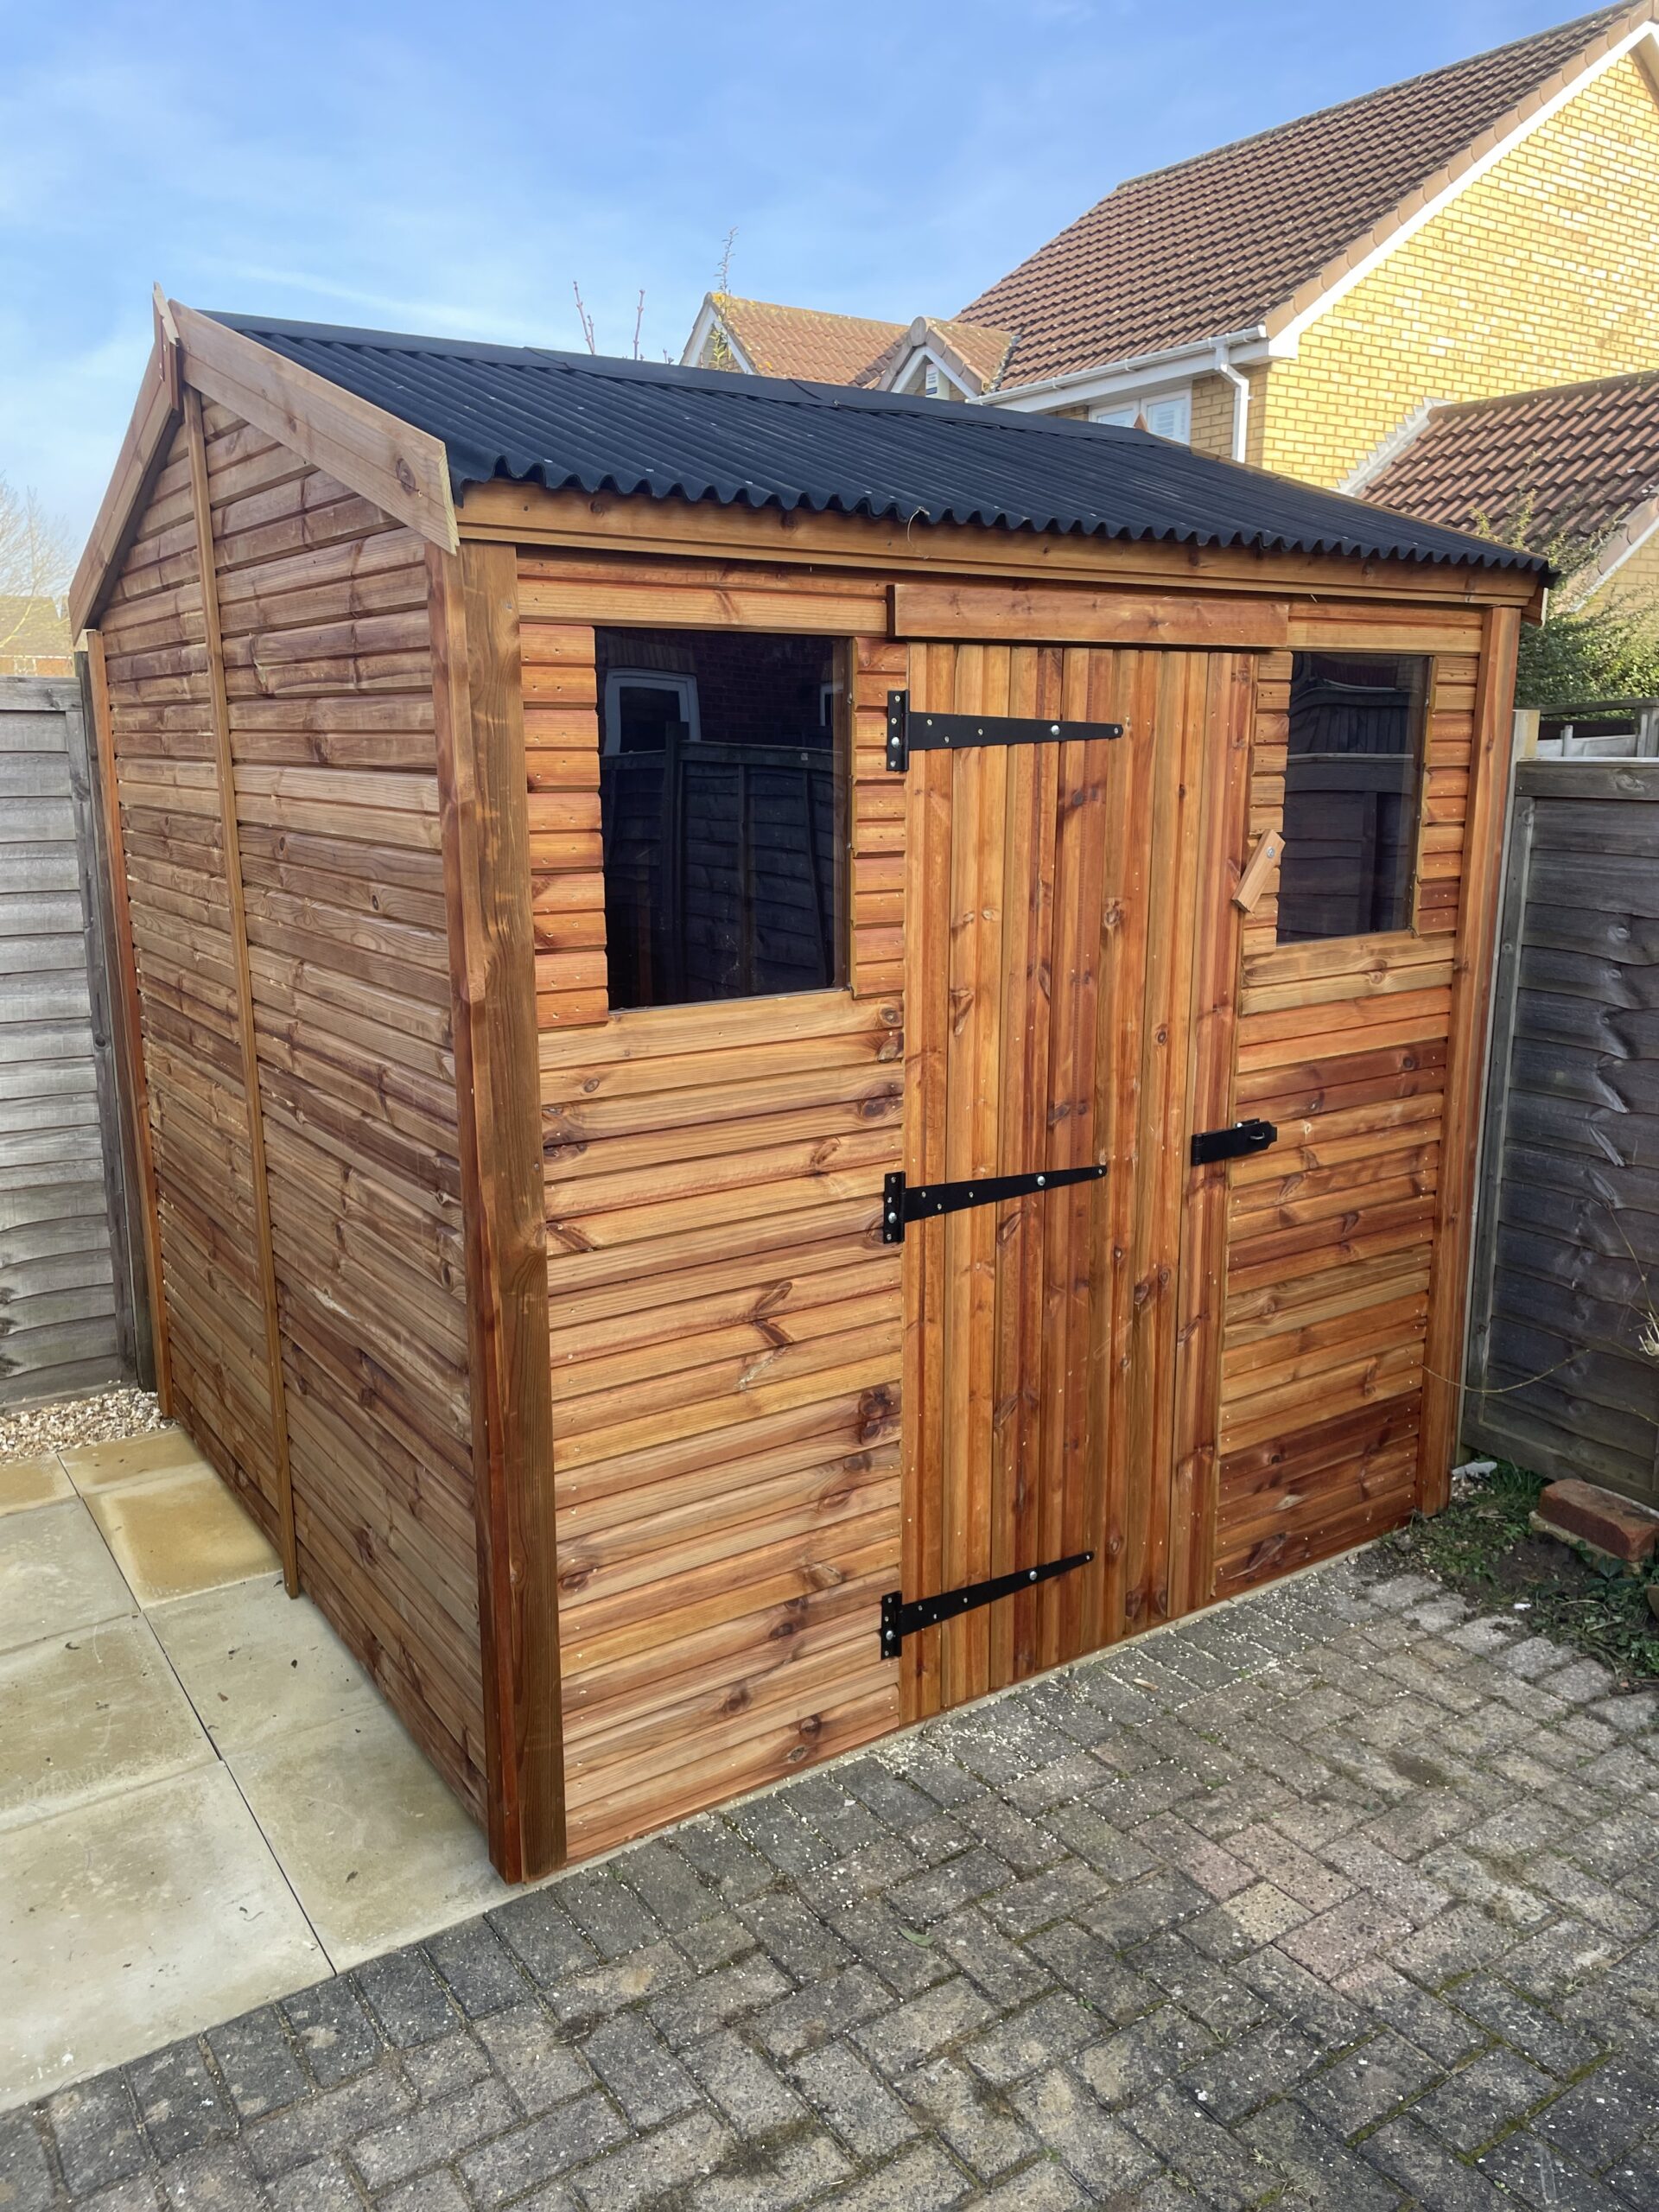
More space available: If you can keep a shed over 2m from boundaries, an apex shed
may be more practical for headroom and storage height.
Examples: What Usually Works Without Planning Permission
Example 1: One medium shed + one small storage shed, both behind the house, both under height limits.
Example 2: One workshop shed + one security shed, positioned to stay under 2.5m if close to boundaries.
Example 3: A large shed only — when the garden footprint would make a second shed push you over the 50% rule.
What Is the Maximum Shed Size Without Planning Permission?
If you’re planning a new garden shed, one of the first questions you’ll ask is:
“Do I need planning permission?”
In most cases, the answer is no — as long as your shed meets specific size and location rules.
This guide explains exactly how big your shed can be without planning permission in the UK,
including height limits, placement rules, and common mistakes to avoid.
Do You Need Planning Permission for a Shed? (UK 2025 Guide)
In many cases, you don’t need planning permission for a shed in the UK — because most sheds fall
under permitted development. However, there are strict rules on height, location, boundary distance,
and extra restrictions for listed buildings, conservation areas, and designated land.
Use this guide as a practical checklist, then double-check your situation using official sources (linked below).
Important: Planning rules can differ across the UK and can be affected by local conditions (e.g., Article 4 Directions).
If you’re unsure, check your local planning authority or the official guidance linked in this post.
The Quick Answer (Most UK Homes)
You typically do not need planning permission for a shed if it meets permitted development rules:
it must be an outbuilding that’s incidental to the enjoyment of the home (e.g., storage, hobby, garden use),
not a separate dwelling.
Most common reasons you DO need permission
The shed is too tall (especially near boundaries)
It’s placed in front of the principal elevation (front of the house)
Your property is listed / on designated land / in a conservation area
You’re adding living accommodation or something that functions like a separate residence
UK 2025 Shed Planning Rules: Height & Boundary Limits
The roof type matters. As a rule of thumb, sheds are more likely to comply when they’re:
lower than 2.5m near boundaries and positioned behind the house.
Situation
Typical permitted development height limits
Within 2m of a boundary
Max 2.5m overall height (this is the big one people get caught by)
More than 2m from a boundary (dual-pitched / apex roof)
Max 4m overall height
More than 2m from a boundary (pent / flat / mono-pitch)
Location: Outbuildings usually must not be built forward of the principal elevation (front of the house).
Garden coverage: Outbuildings + extensions typically must not cover more than 50% of the curtilage.
Use: Must be incidental to the main home (storage/workshop/gym) — not a separate dwelling.
Storeys: Typically must be single storey.
Balconies/verandas/raised platforms: Often restricted (raised platforms commonly limited to around 0.3m).
If you’re planning a larger garden room: rules can still allow it under permitted development, but height,
boundary distance, and “use as living accommodation” are the common pitfalls. See options here:
Garden Rooms.
Listed Buildings, Conservation Areas & Designated Land
Extra care is needed if your property is listed or located on designated land
(including many conservation areas). Permitted development rights may be restricted, and you may need planning permission
even for a small shed.
If any of these apply, it’s smart to check before buying:
Listed building / within the curtilage of a listed building
Conservation area or similar designation
Article 4 Direction (removes certain permitted development rights)
For higher-security storage (often planned to be compact and boundary-friendly), browse:
Security Sheds or
Motorbike Sheds.
Simple “Do I Need Permission?” Checklist
In most cases, you’re on safer ground if you can tick all of these:
The shed is behind the house (not in front of the main elevation).
It’s single storey and used for storage/workshop/hobby (not a separate home).
If it’s within 2m of a boundary, it stays at or below 2.5m overall height.
If it’s more than 2m from a boundary, it stays within the relevant roof height limit.
Your property isn’t listed and isn’t subject to special restrictions (or you’ve checked them).
Painting your shed isn’t just about looks — it’s essential protection against rain, rot, and UV damage.
This guide explains how to paint a shed properly, what paints to use, and how to make the finish last for years.
Painting your shed protects the timber from rain, UV exposure, mould, and cracking.
It also improves appearance and can extend the lifespan of your shed by many years.
How to Waterproof a Shed (UK Rain, Damp & Condensation Guide)
Water damage is one of the most common reasons sheds fail early. In this guide, you’ll learn
how to waterproof a shed properly — from the roof and walls to ventilation and ground protection.
Waterproofing your shed properly protects your investment and keeps your contents safe year-round.
With regular maintenance and good-quality materials, your shed can last decades.
Building a shed roof correctly is essential for keeping your shed weatherproof, durable, and long-lasting.
This guide explains how to build both apex and pent shed roofs, including
timber structure, coverings, and best UK practices.
Avoid these mistakes and your roof can last 10–15 years or more.
Final Thoughts
Building a shed roof correctly protects your investment and ensures years of reliable use.
Whether you’re repairing or starting from scratch, proper materials and technique make all the difference.
How to Refelt a Shed Roof (Costs, Materials & Methods)
Refelting a shed roof is one of the most effective ways to extend the life of your garden building.
This guide explains how to refelt a shed roof properly, the tools you’ll need,
and when it’s better to replace the roof covering altogether.
A properly felted roof protects your shed from water damage and extends its lifespan significantly.
With the right tools and preparation, refelting is a manageable DIY task that delivers long-term value.
How to Felt a Shed Roof (UK Weather-Proofing Guide)
A properly felted shed roof is essential for keeping your building dry, protected, and long-lasting.
In this guide, we explain exactly how to felt a shed roof, what materials to use,
and how to avoid the most common mistakes.
Shed roofing felt acts as the main weather barrier, protecting timber panels from rain,
frost, and long-term moisture damage. Without proper felting, even pressure-treated sheds
can suffer rot and warping.
A well-fitted felt roof can last 10–15 years when installed correctly. Regular checks after winter
will help catch small issues before they become costly repairs.