
How to Make a Shed Base Without Concrete (UK Methods)
Want a solid shed foundation without mixing, pouring, or waiting for concrete to cure? Below are four proven, UK-friendly ways to build a shed base without concrete—with step-by-step instructions, drainage tips, and common mistakes to avoid.
If you’re still choosing the right building, start here: Build Your Shed Delivery & Installation
What you’ll learn
- When a no-concrete base is best
- Ground prep (the part that matters most)
- Method 1: Gravel base + timber frame
- Method 2: Dry-laid paving slab base
- Method 3: Plastic grid foundation
- Method 4: Blocks + treated bearers
- Mistakes that cause shed floors to rot or twist
- FAQ
When a no-concrete shed base is best
A no-concrete base is ideal if you want a faster install, improved drainage, easier DIY handling, or you’re working on a garden that’s hard to access with materials. It can also be easier to adjust later if the ground settles.
If you’re unsure about planning rules for sheds/outbuildings, check official guidance first: Planning Portal – Outbuildings and GOV.UK – Permitted development technical guidance.
Ground prep (the part that matters most)
Whether you choose gravel, slabs, grids, or blocks, the prep steps are almost the same:
- Choose the spot: avoid low-lying areas where water sits after rain.
- Mark out the base: make it the shed footprint + 50–100mm all around.
- Remove turf/topsoil: dig down to firm ground.
- Add a geotextile membrane: helps stop weeds and keeps sub-base from mixing with soil.
- Install a sub-base: typically compacted MOT Type 1 for stability and drainage.
- Level carefully: check both directions (and diagonals) as you compact.
Method 1: Gravel base + timber frame (most popular DIY option)
This is a strong, affordable method for UK gardens and works brilliantly with pressure-treated bearers. It’s also very forgiving if you need to tweak levels later.
Materials
- MOT Type 1 sub-base (compacted)
- Geotextile membrane
- 20mm angular gravel (or similar)
- Pressure-treated timber to form a perimeter frame
- Spikes/pegs + exterior screws
- Spirit level + long straight edge
Steps
- Excavate to firm ground and lay membrane.
- Add MOT Type 1 in layers (50mm at a time) and compact until solid.
- Build a square timber frame to the finished base size; check diagonals match.
- Fix the frame in place with pegs/spikes and re-check level.
- Fill with gravel and rake level; compact lightly.
- Install the shed on treated bearers so timber doesn’t sit directly on stone.
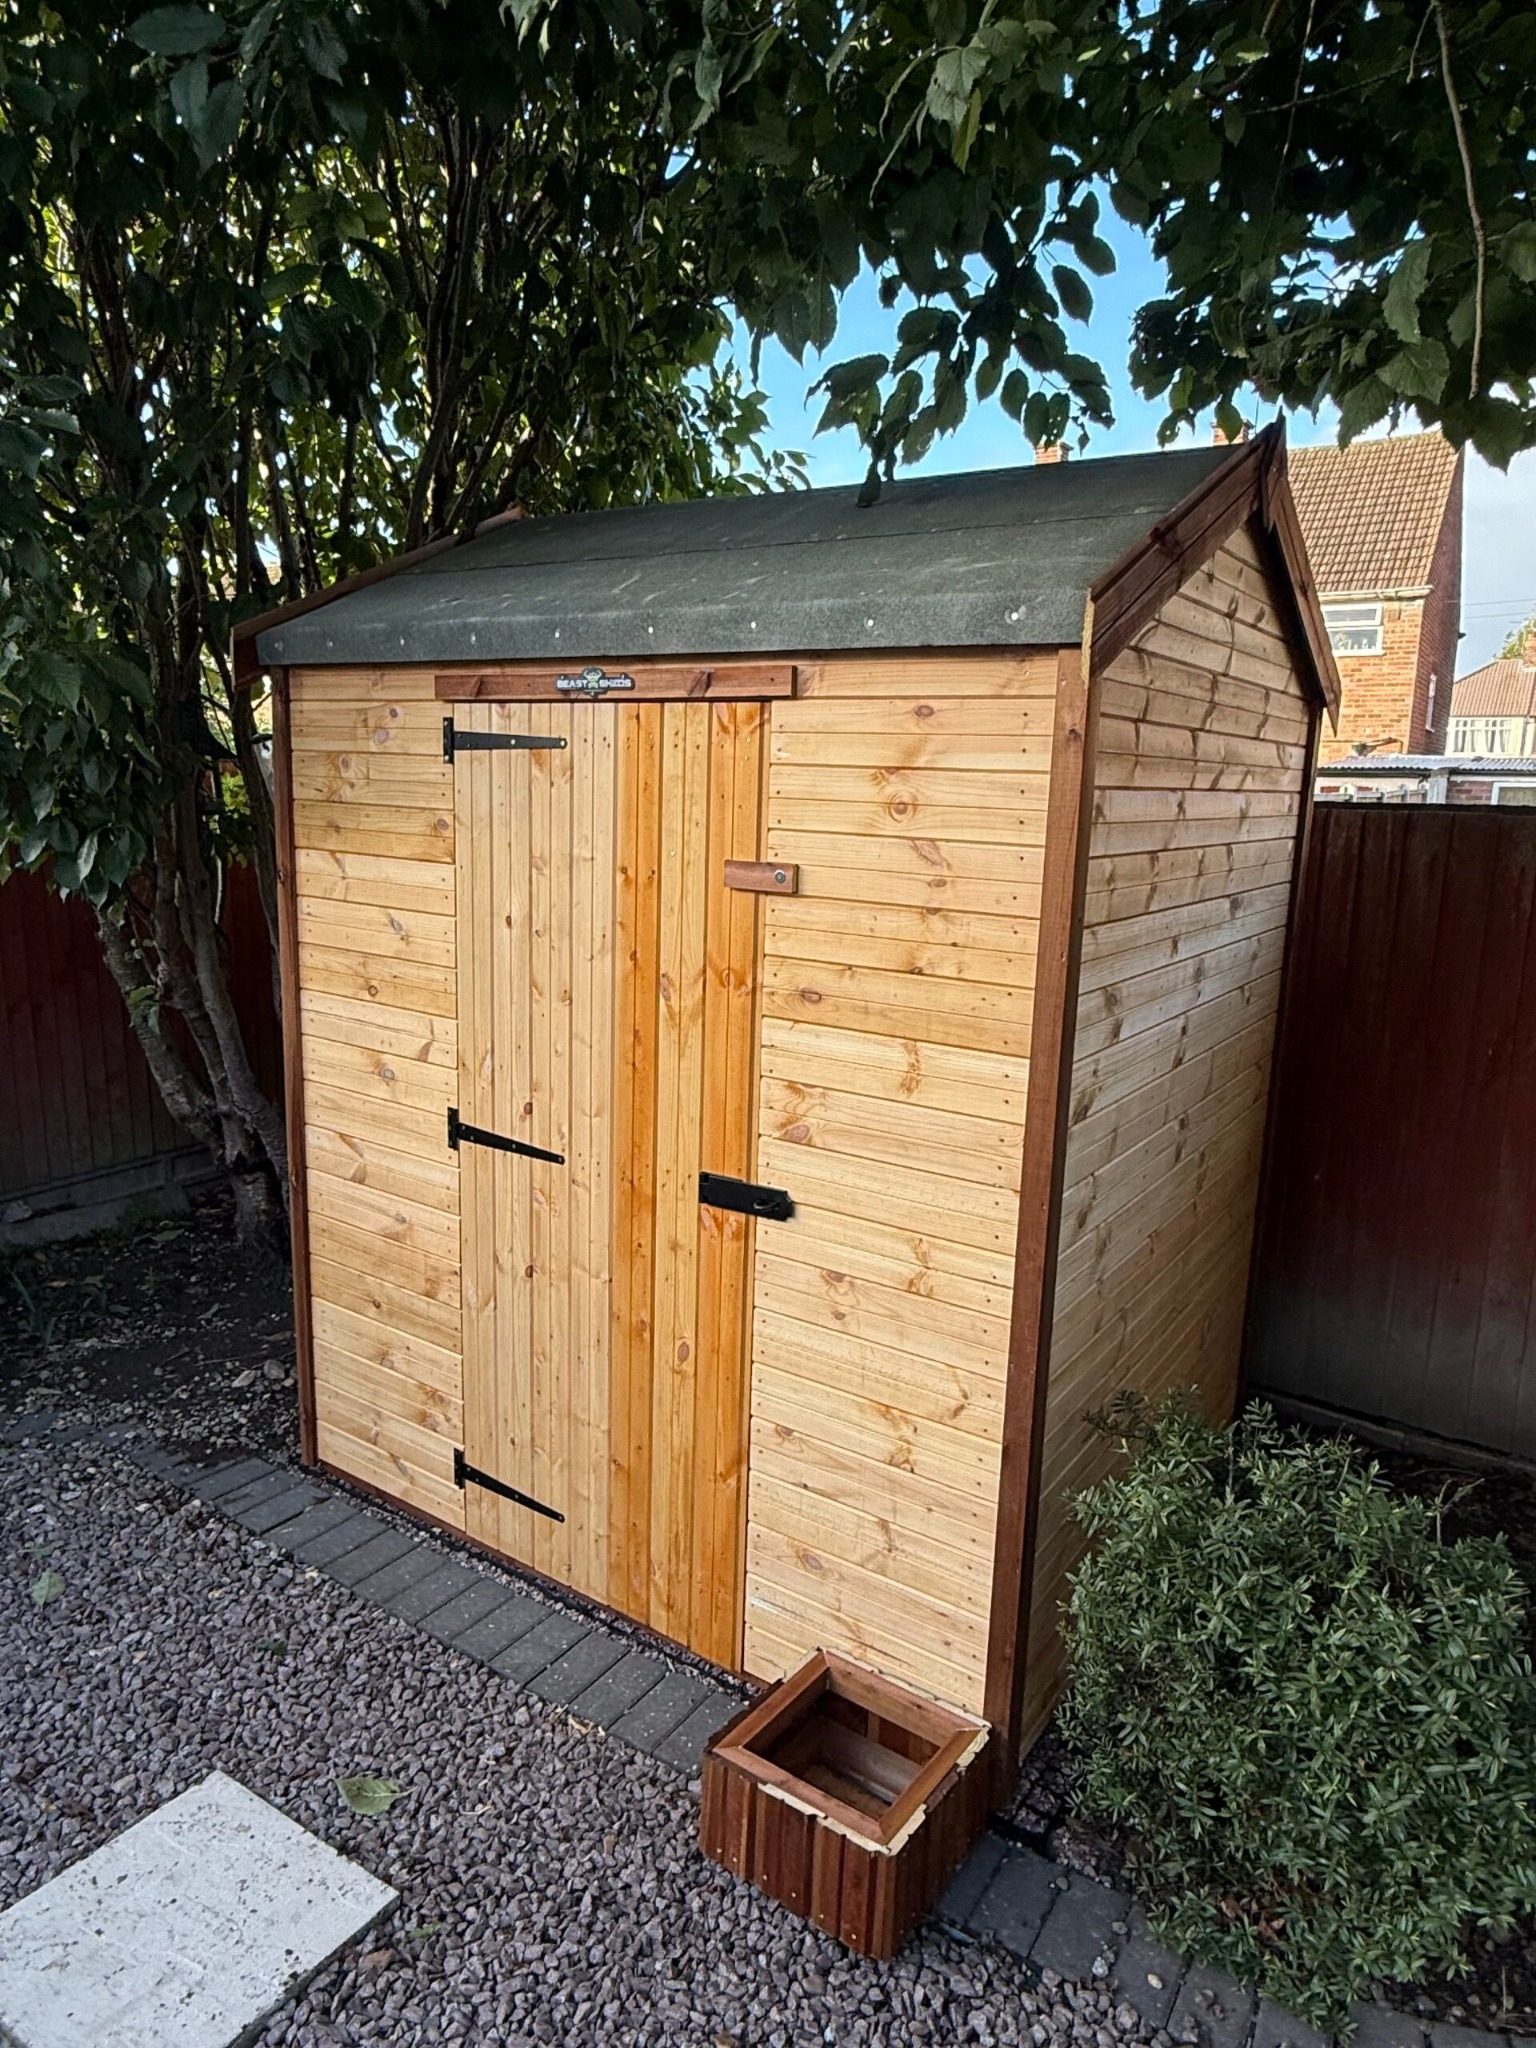
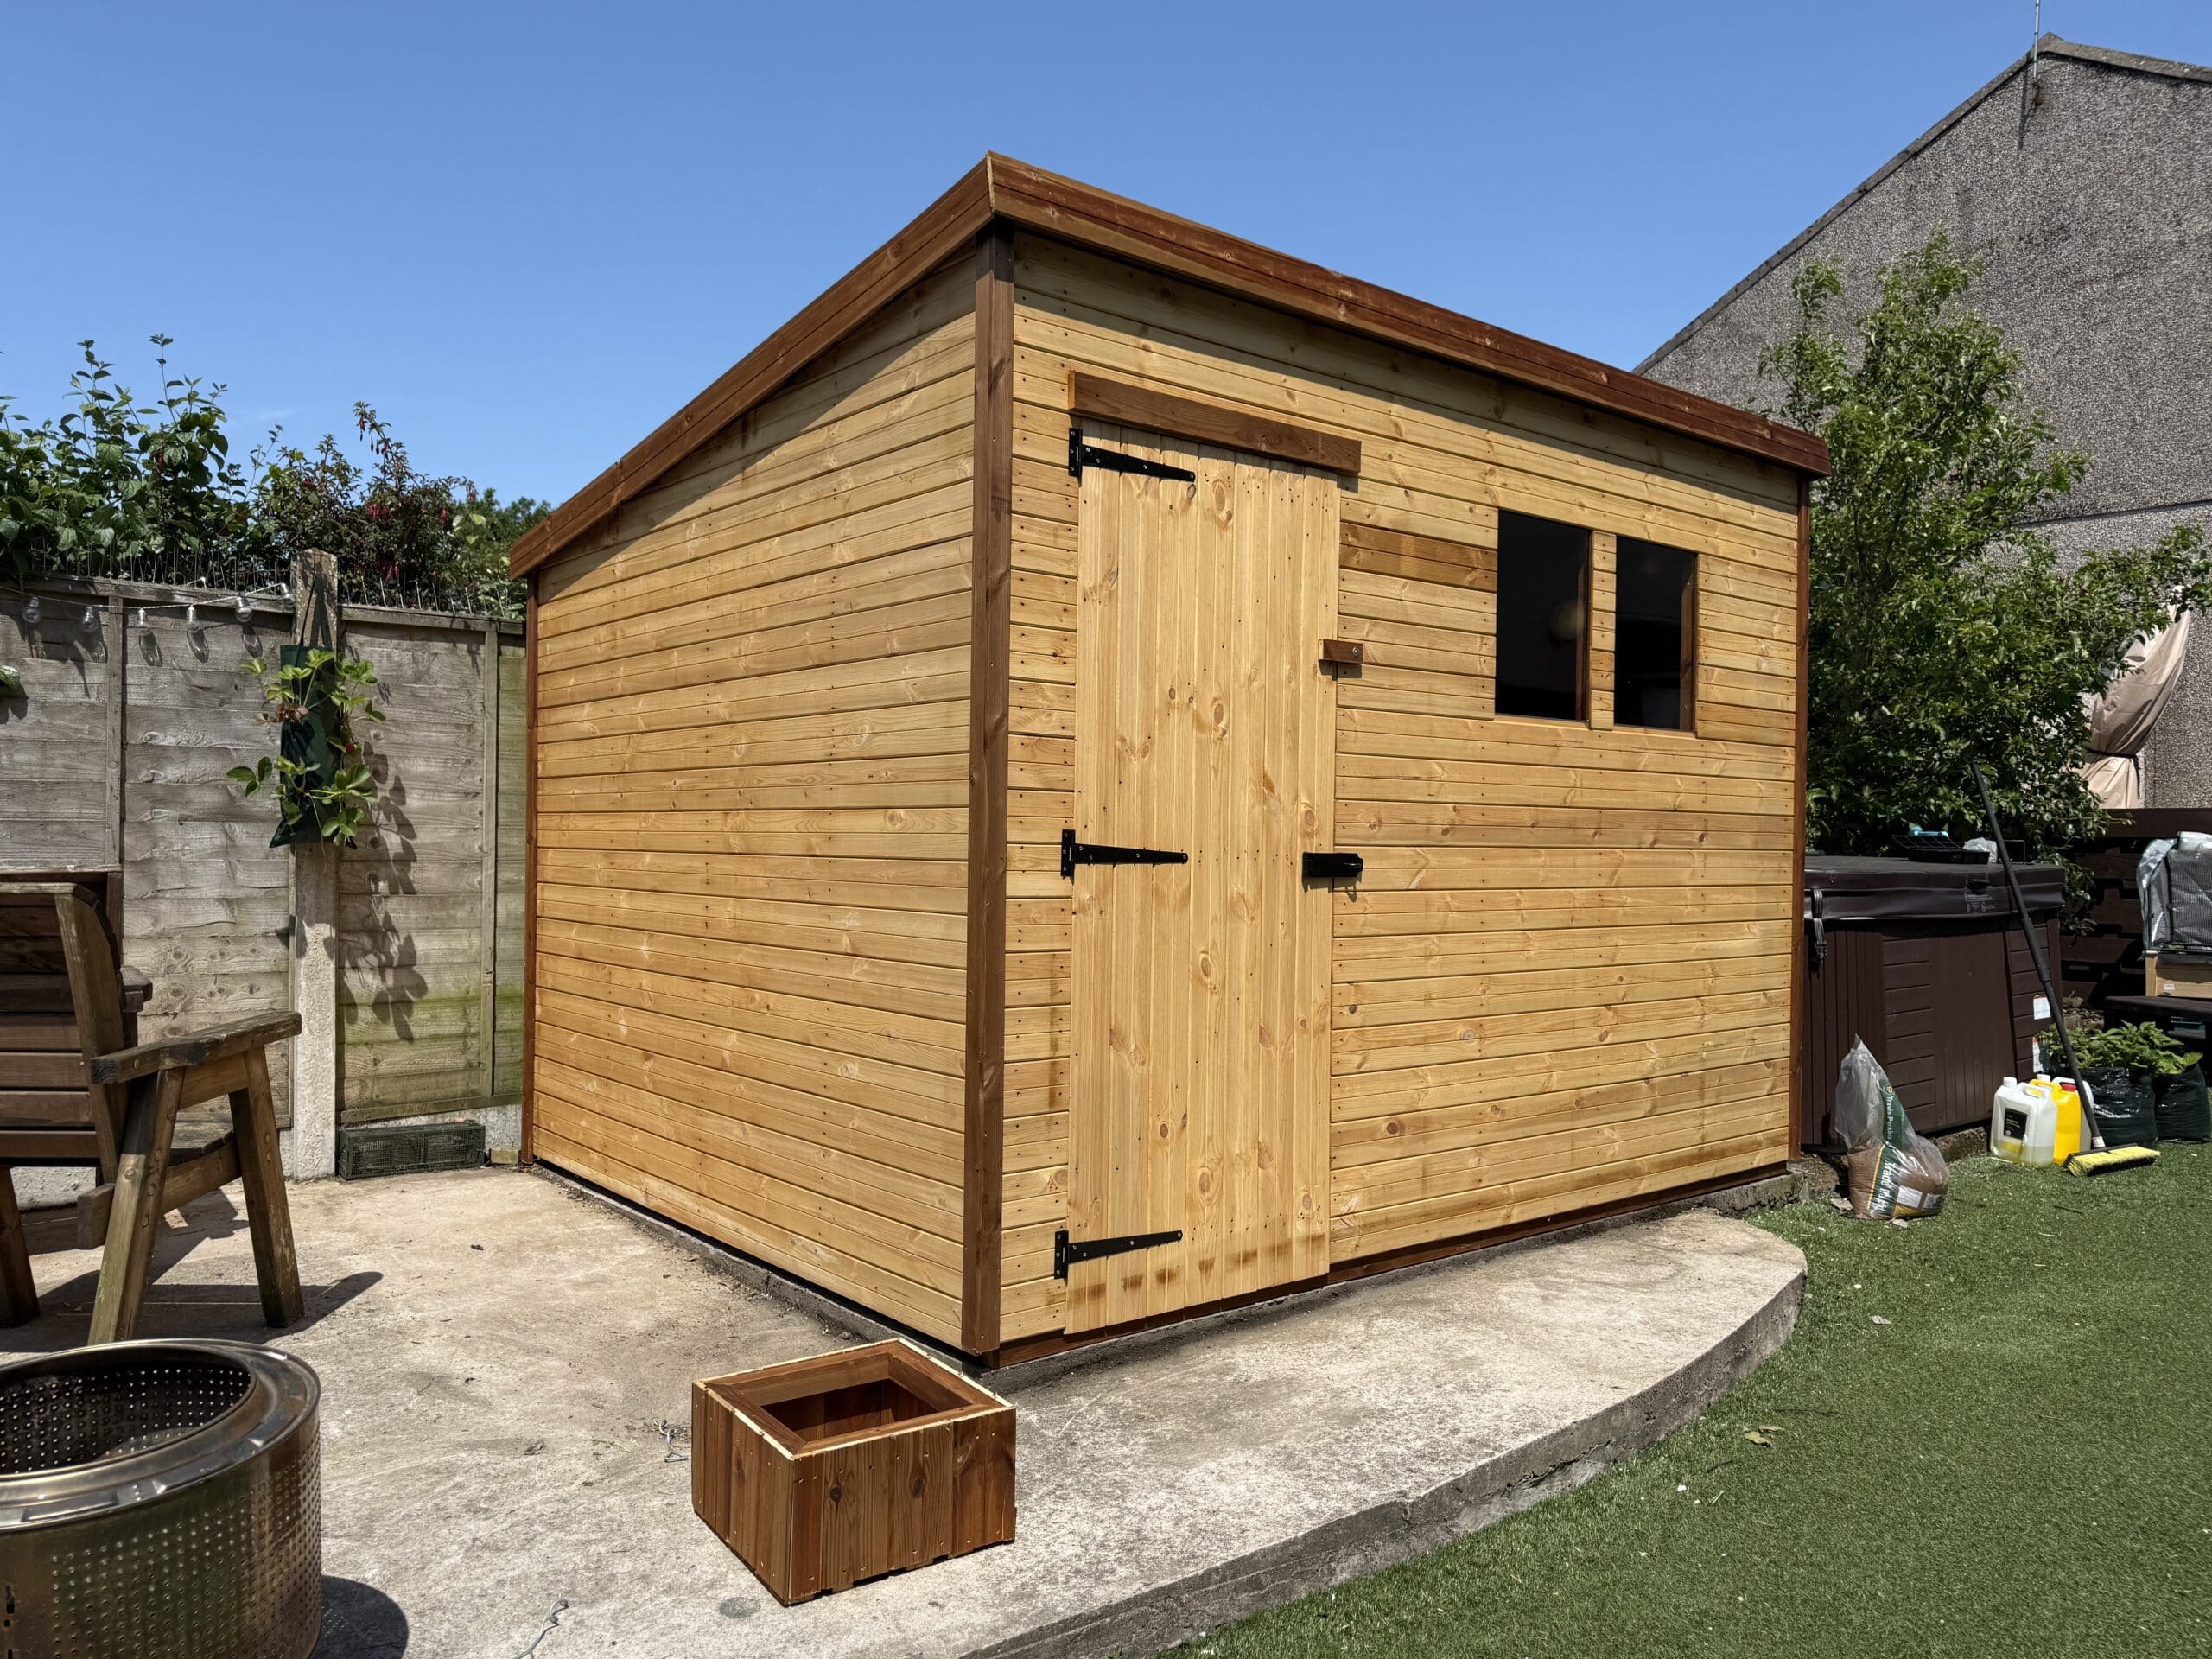
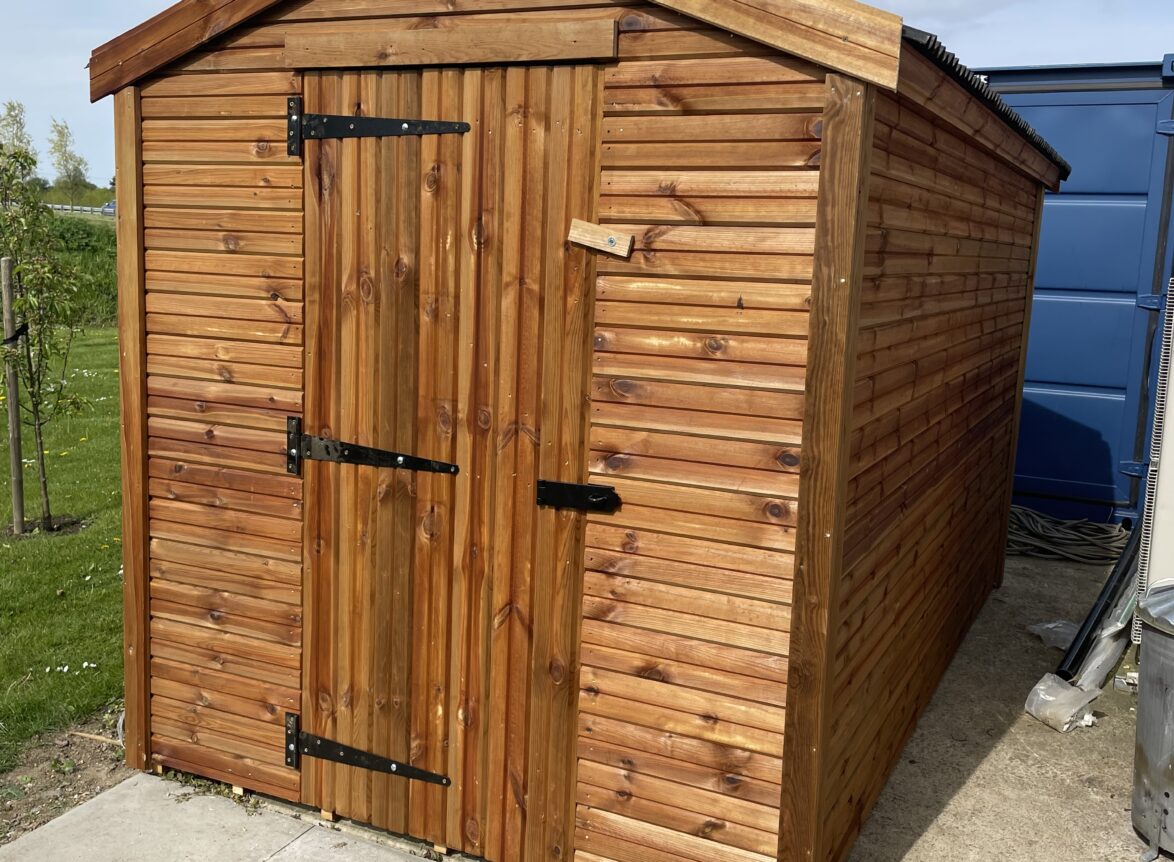
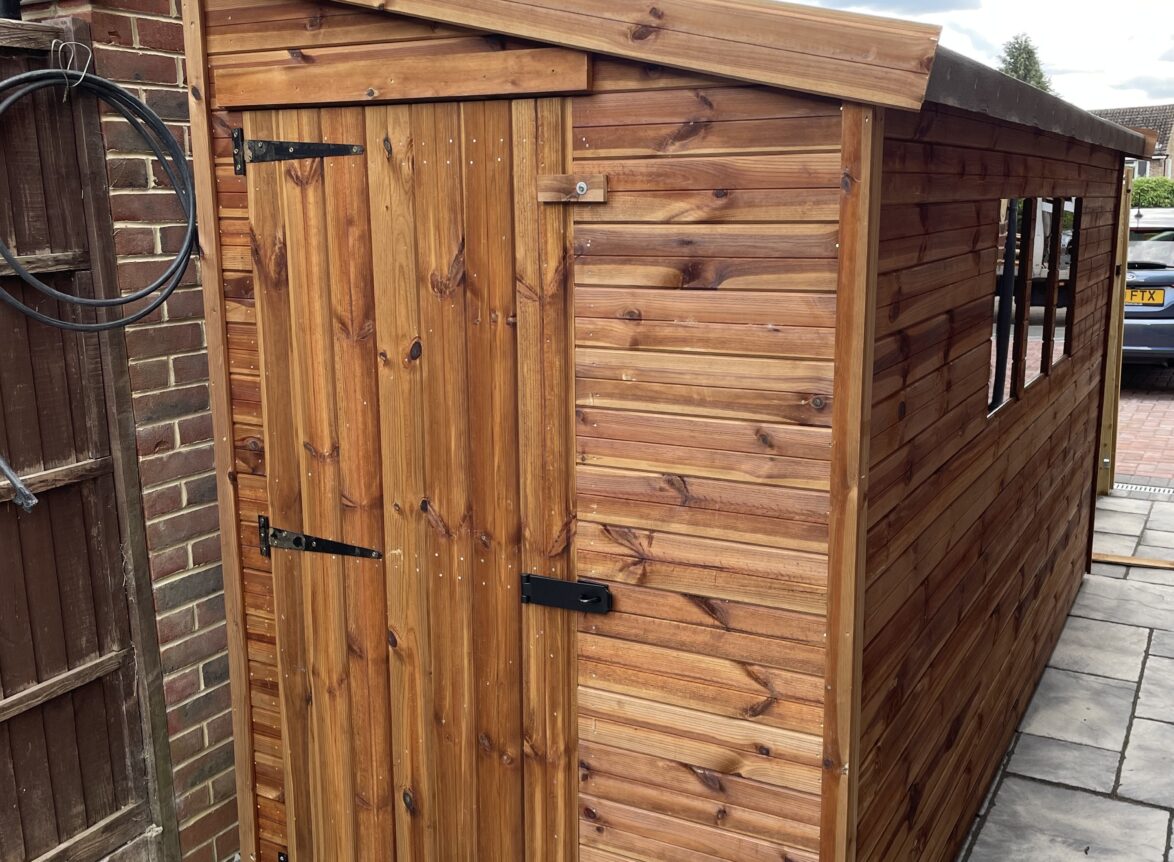
This base is ideal for many timber buildings—especially if you’re ordering a new shed and want it installed properly. See options here: Shop All Sheds Pent Sheds Apex Sheds
Method 2: Dry-laid paving slab base (no concrete pour)
A paving slab base can be built without pouring a concrete slab. The key is a well-compacted sub-base and a properly prepared laying course so the slabs don’t rock.
Best for
- Small to medium sheds
- Gardens where you want a tidy, easy-to-sweep perimeter
- Sites with good access for materials
Steps
- Excavate, lay membrane, and compact MOT Type 1 sub-base.
- Add a thin laying course (often sharp sand) and screed roughly level.
- Lay slabs, tapping down and checking level constantly.
- Re-check across diagonals; adjust any rocking slabs before moving on.
If you want a manufacturer-backed reference for paving installation principles (levels, bedding, stability), Marshalls publish installation guidance you can follow: Marshalls – paving installation guidelines (PDF).
Method 3: Plastic grid foundation (fast, clean, great drainage)
Plastic grid systems create a stable, free-draining base that you fill with gravel. They’re quick to lay and especially useful in wetter parts of the UK where you want water to pass through rather than puddle.
Steps
- Excavate and compact a Type 1 sub-base (don’t skip this for larger sheds).
- Lay membrane and place the grid panels.
- Fill grids with gravel and level off.
- Install shed on bearers to maintain airflow under the floor.
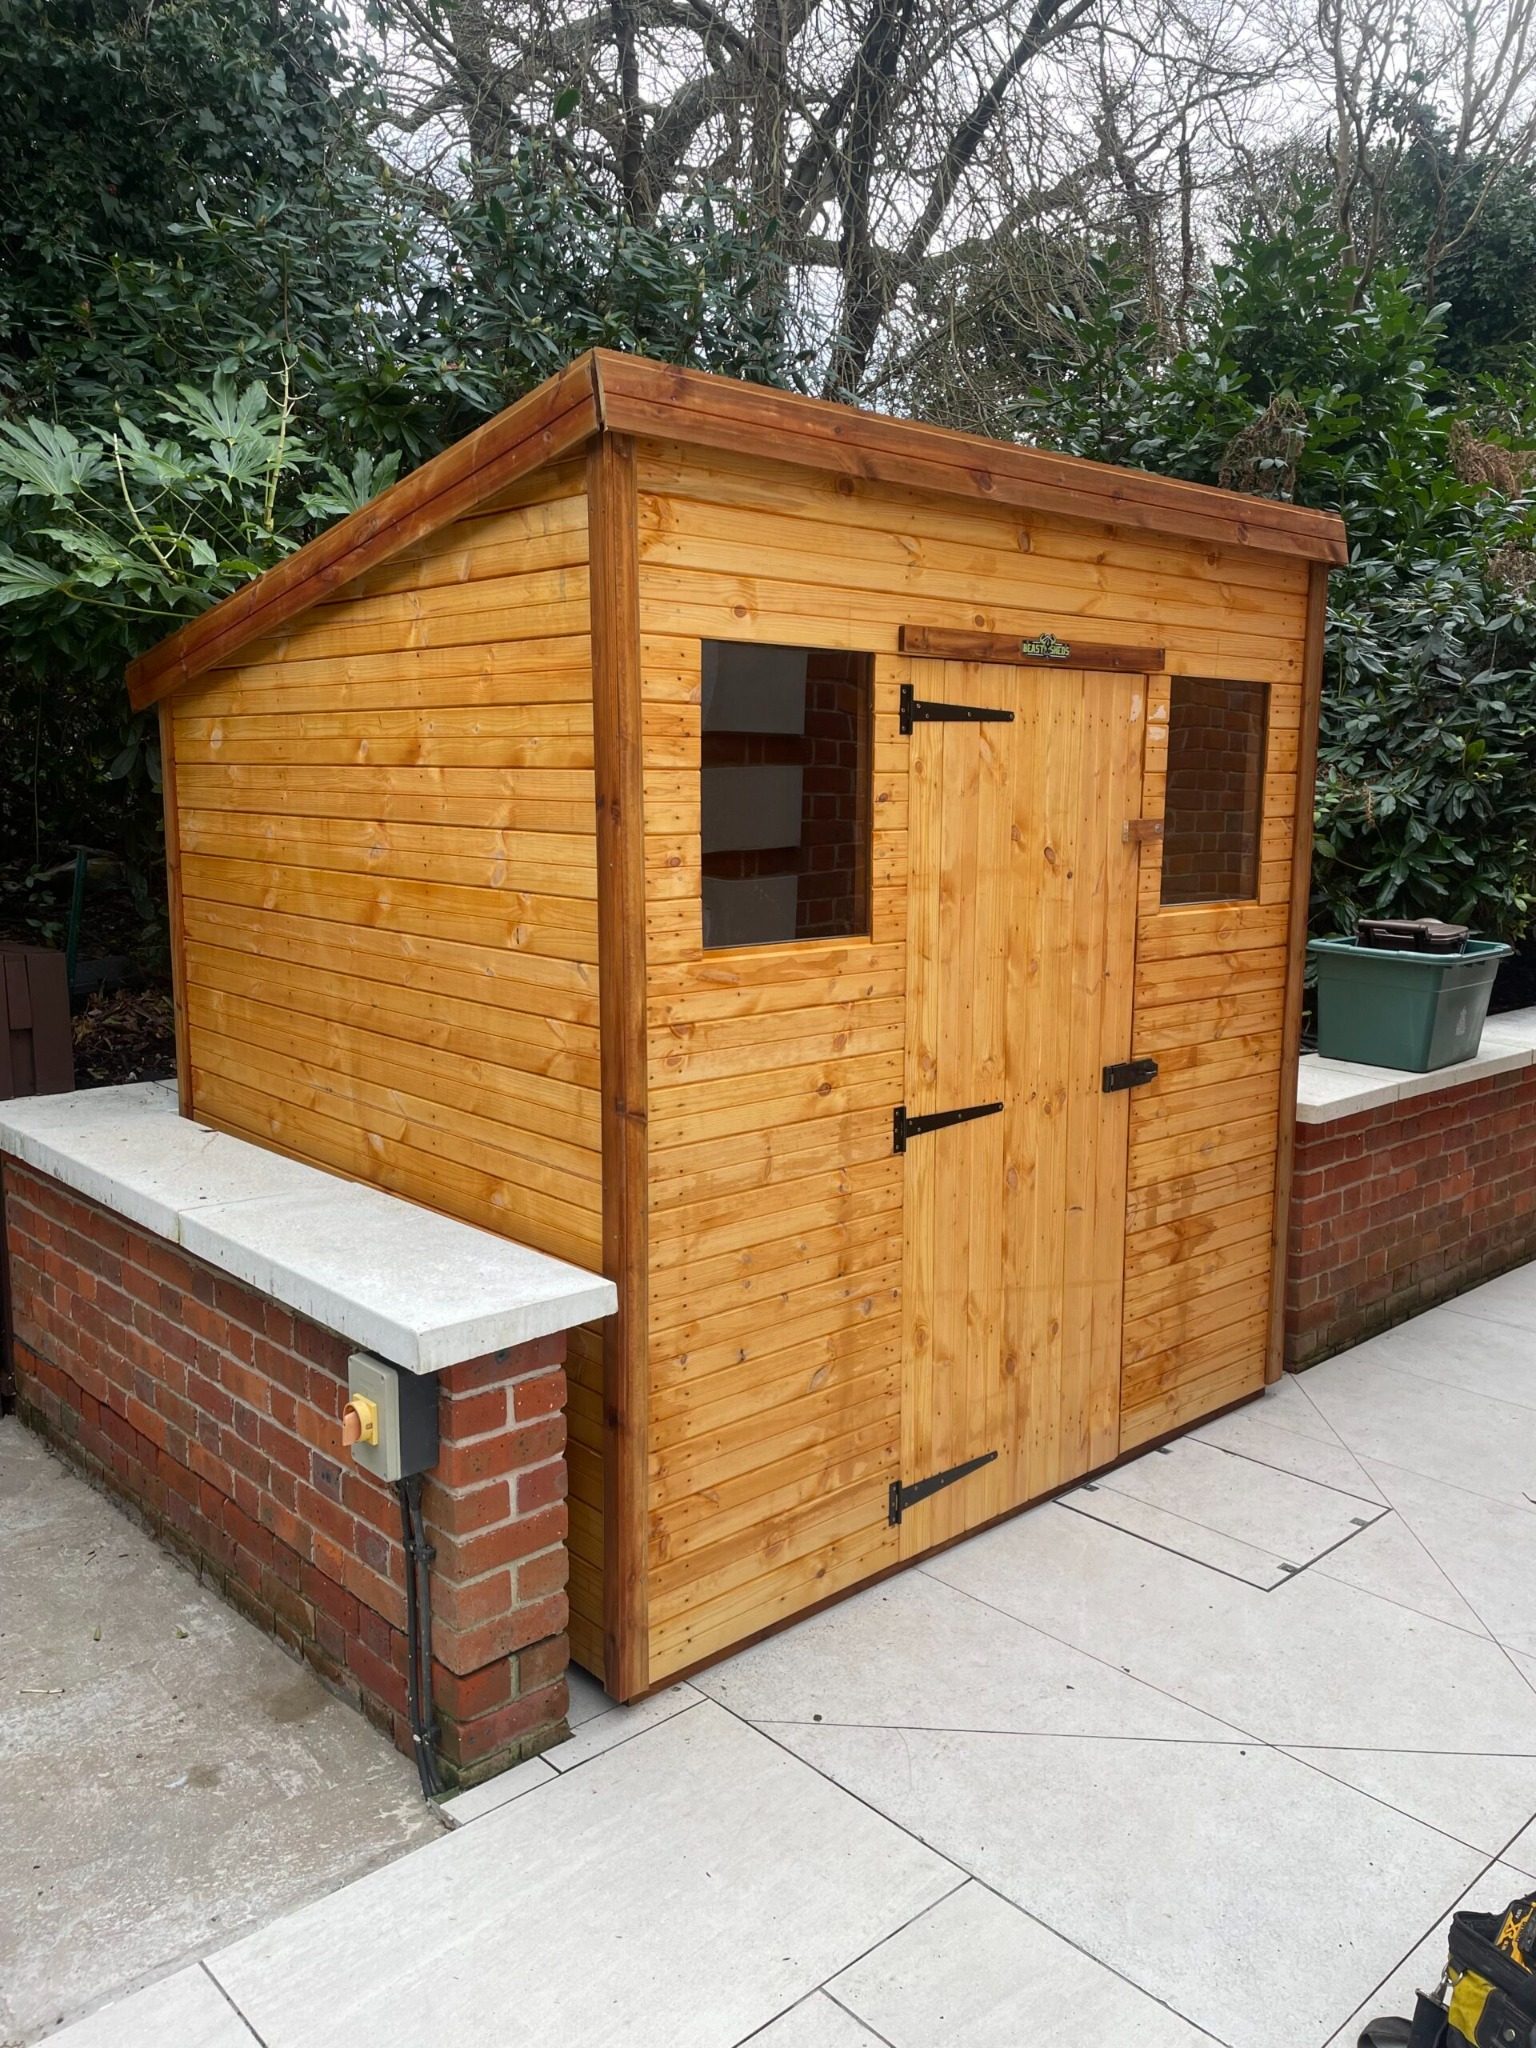
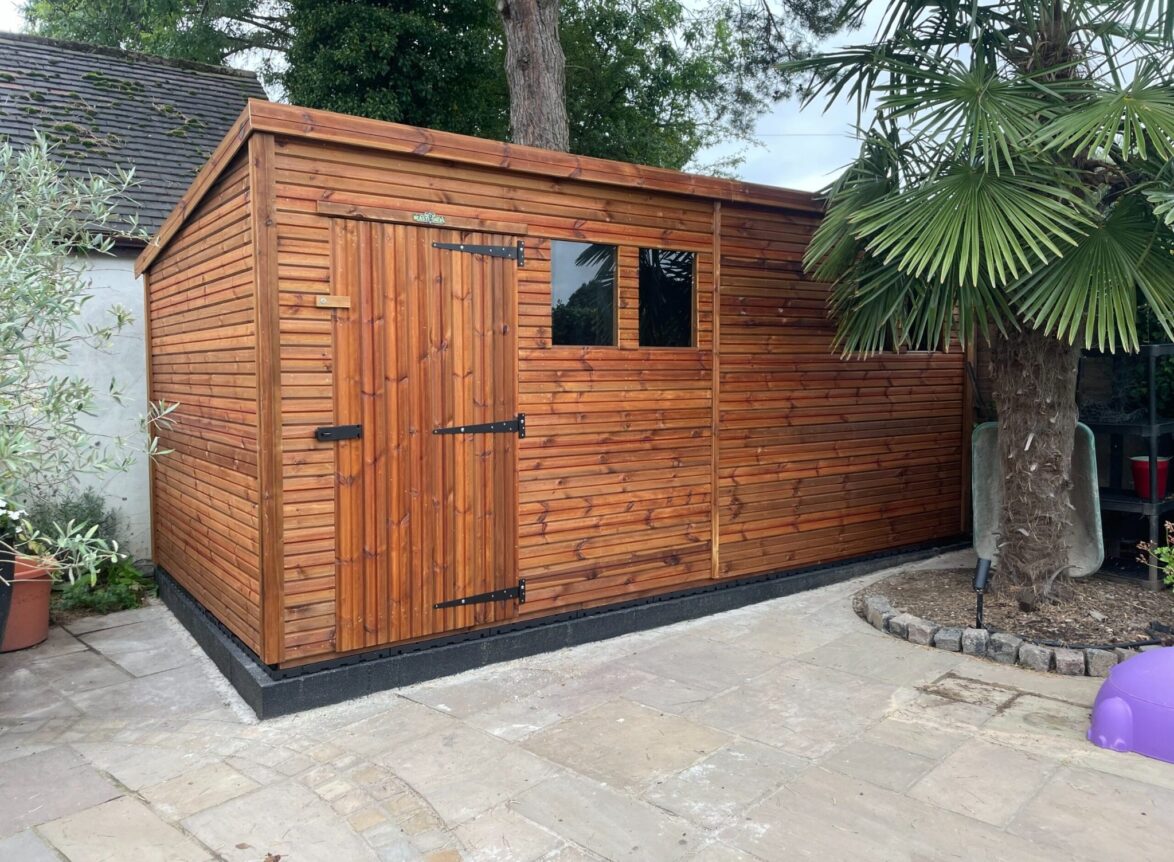
Choosing a pressure-treated building can reduce maintenance long-term: Browse Pressure Treated Sheds
Method 4: Blocks + treated bearers (best for uneven ground)
If your garden has a slight slope, a block-and-bearer approach can be easier than trying to build up a full pad. You level a set of solid supports, then fix bearers across them.
Steps
- Mark out support points (corners + every 1–1.2m depending on shed size/weight).
- Excavate each point, add compacted sub-base, then place blocks.
- Level each block carefully to the same height (this is the whole job).
- Fix pressure-treated bearers across the blocks and install the shed.
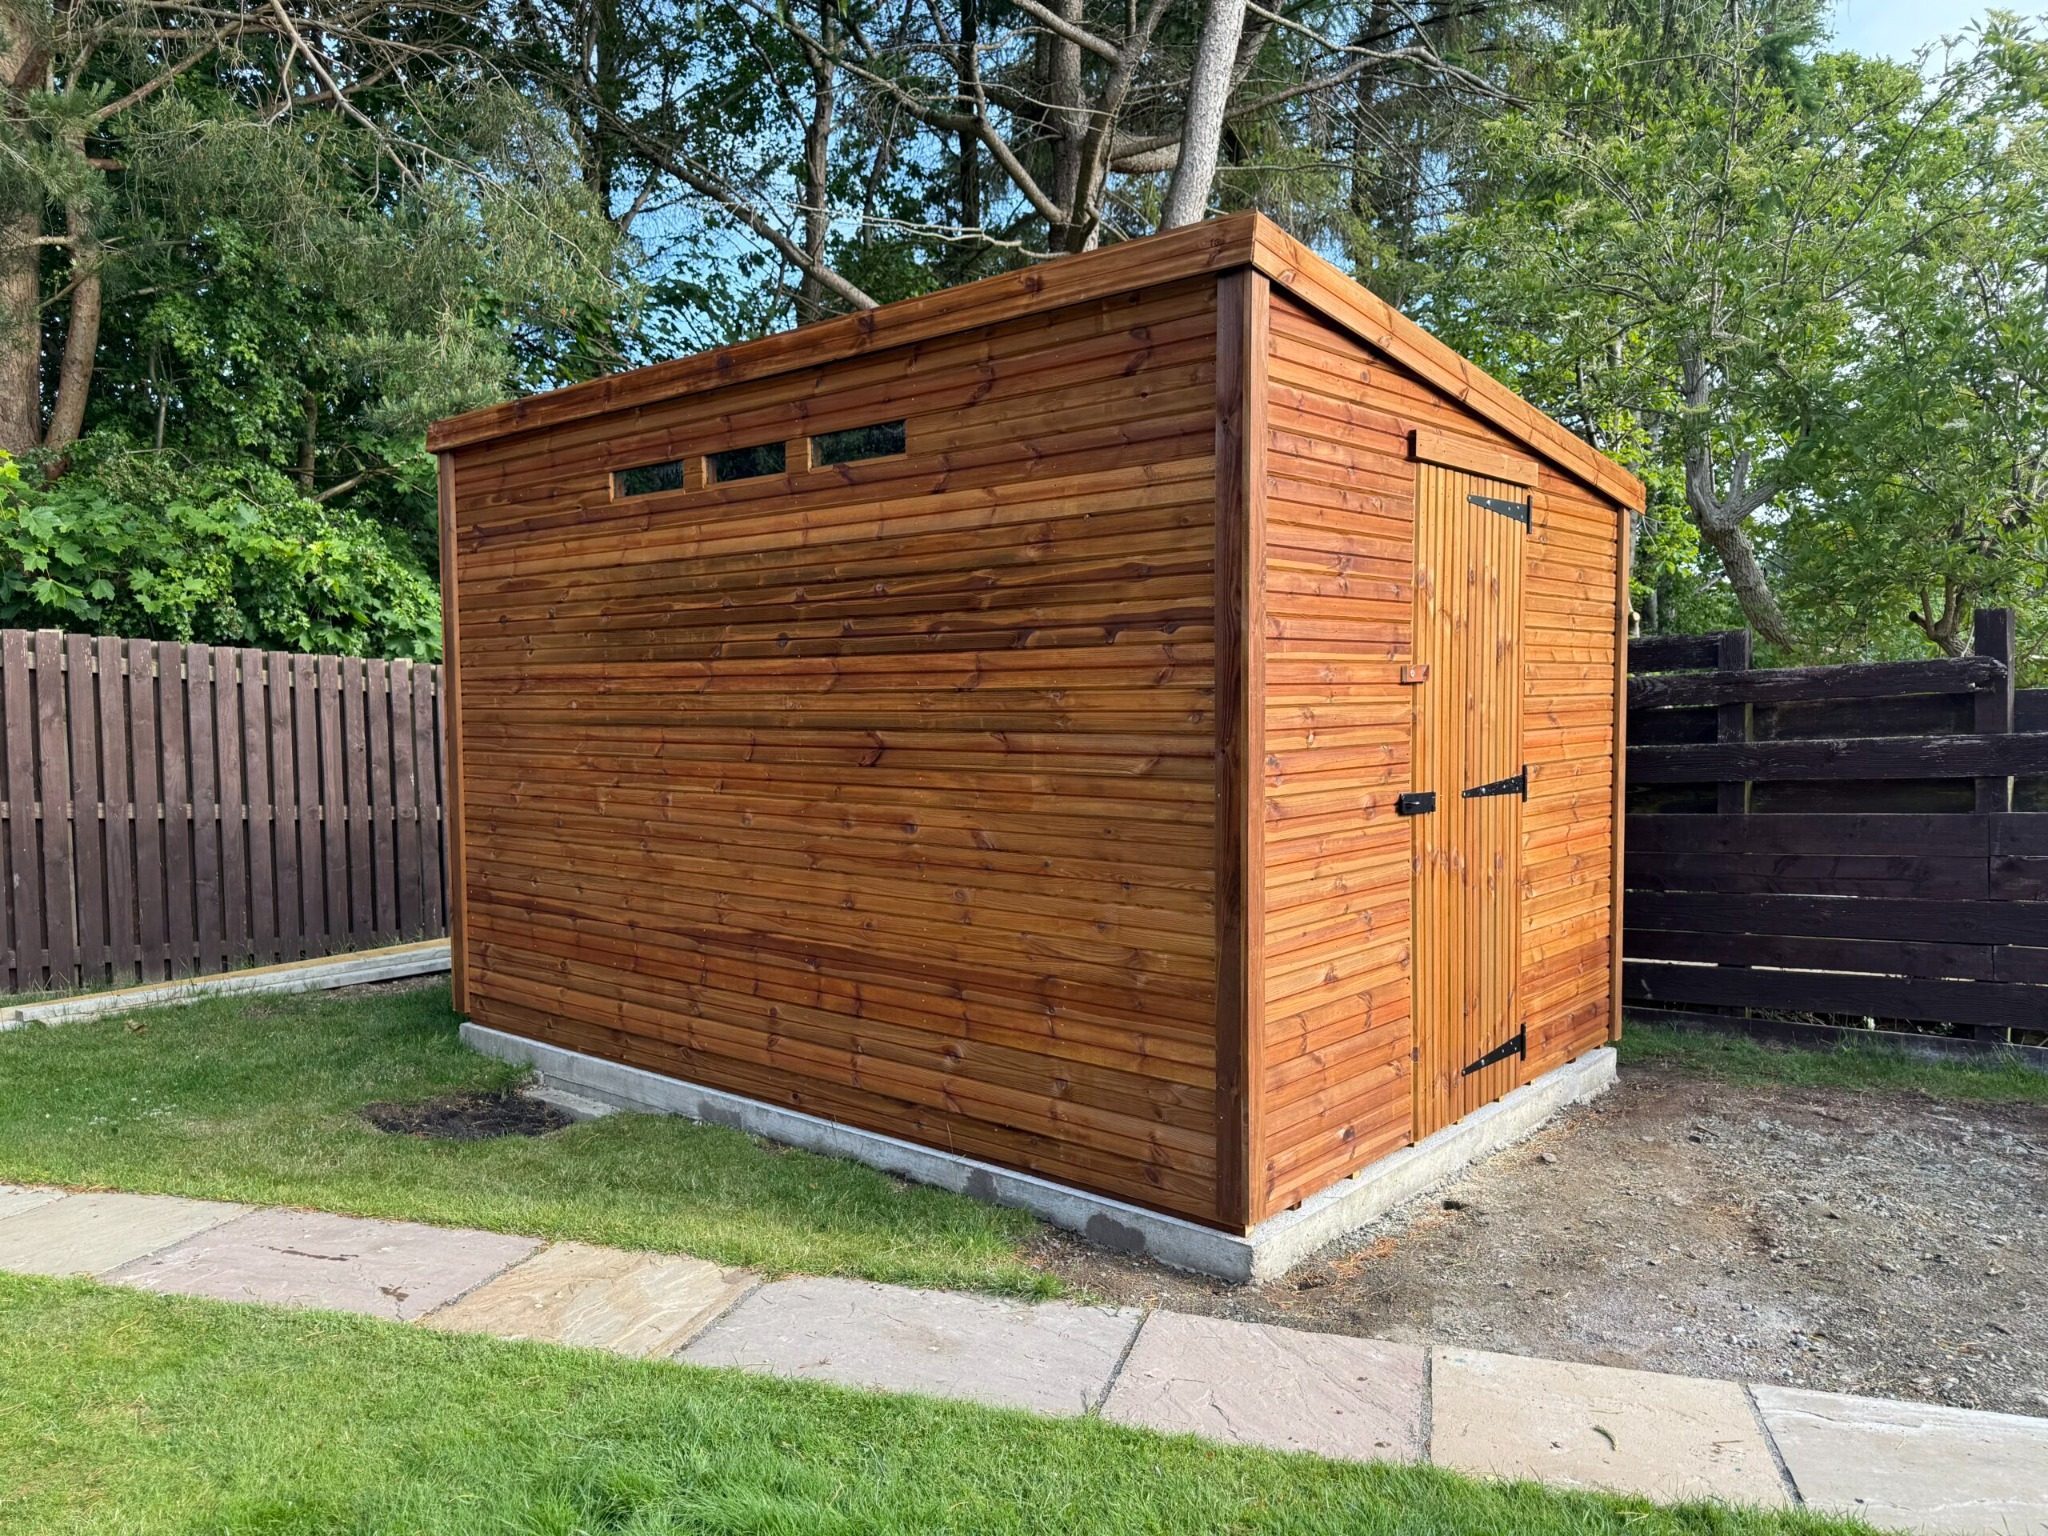
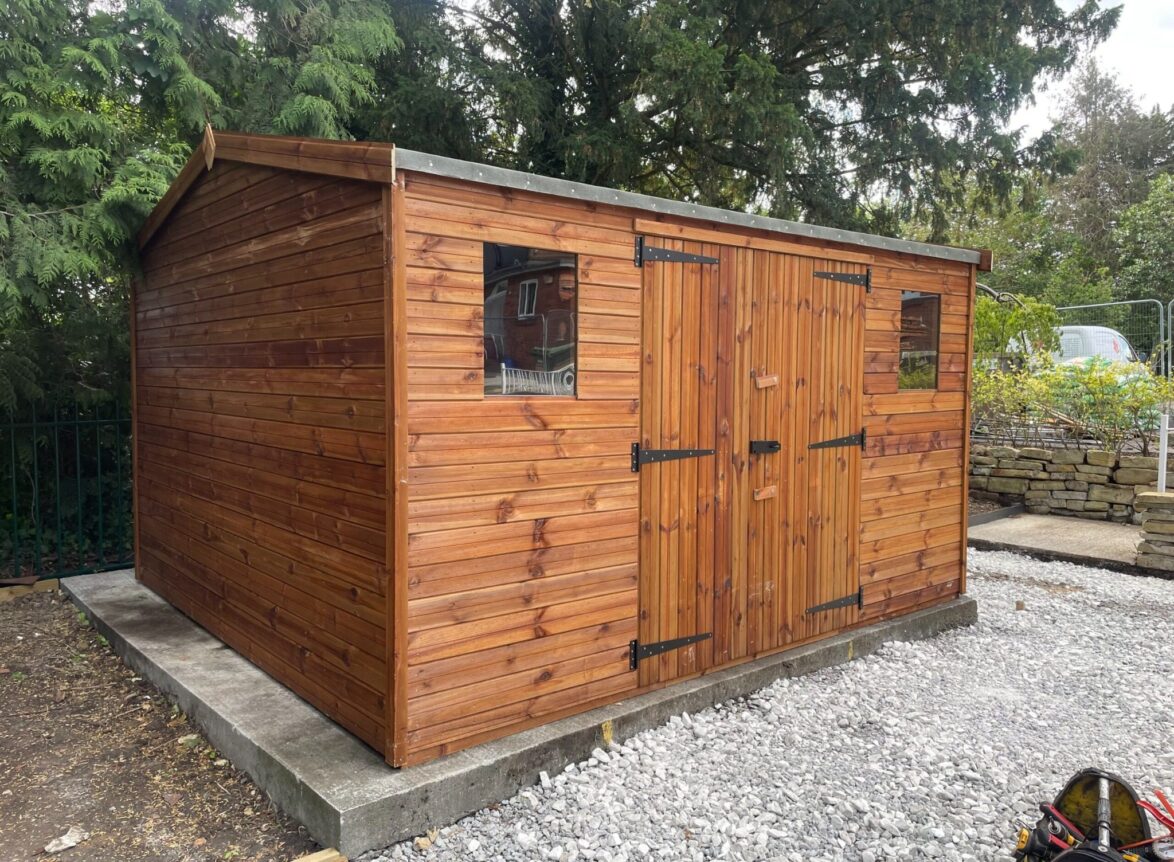
This is a great match for workshops and heavy-duty buildings: Workshop Sheds Heavy Duty Sheds
Mistakes that cause shed floors to rot or twist
| Mistake | What happens | Fix |
|---|---|---|
| Base not level (even slightly) | Doors stick, windows bind, felt and cladding strain | Level the base, not the shed. Check diagonals + long straight edge. |
| No membrane under sub-base | Type 1 sinks into soil; weeds push through | Use a proper geotextile layer before Type 1. |
| Not enough compaction | Settling, rocking slabs, gaps under bearers | Compact in layers; take time on the Type 1. |
| Poor drainage / base sits in a puddle zone | Damp underfloor, mould risk, faster timber wear | Choose permeable surfaces and a slightly raised finish. |
If you’d prefer a professional install (base prep + shed), see: Delivery & Installation
FAQ: Shed base without concrete
How deep should I dig for a shed base in the UK?
It depends on soil and shed weight, but a typical DIY approach is to remove turf/topsoil down to firm ground, then build up with compacted sub-base and your chosen finish (gravel, grids, or slabs). The key is stability and drainage.
Is gravel better than slabs?
Gravel (especially with a timber frame or grid) usually drains better and is easier to adjust. Slabs look tidy and are easy to keep clean, but they must be laid on a very stable, well-compacted base so they don’t rock.
Do I need planning permission for a shed base?
Often no, but rules depend on height, placement, and whether your property is in a restricted area. Use official guidance: Planning Portal and GOV.UK technical guidance.
What shed is best for storing bikes or motorbikes?
For bikes and motorbikes, prioritise security features and a stable base that stays dry. See: Motorbike Sheds and Security Sheds.
Leave a Comment
Your email address will not be published. Required fields are marked *